The Royal Ascot gallery
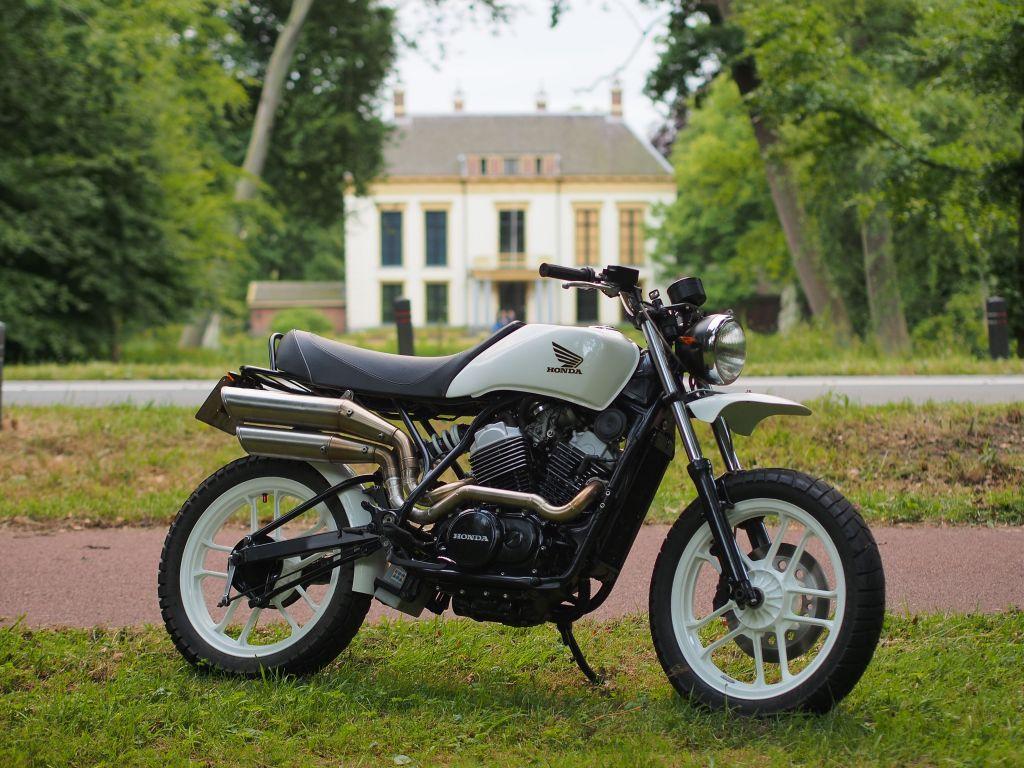

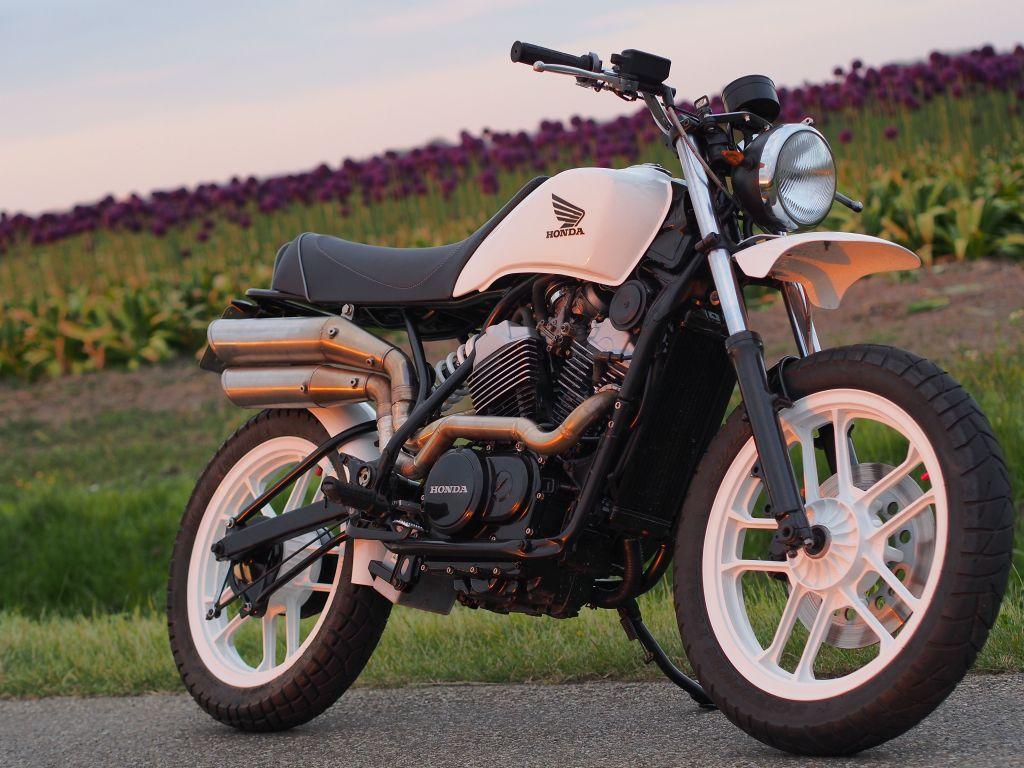


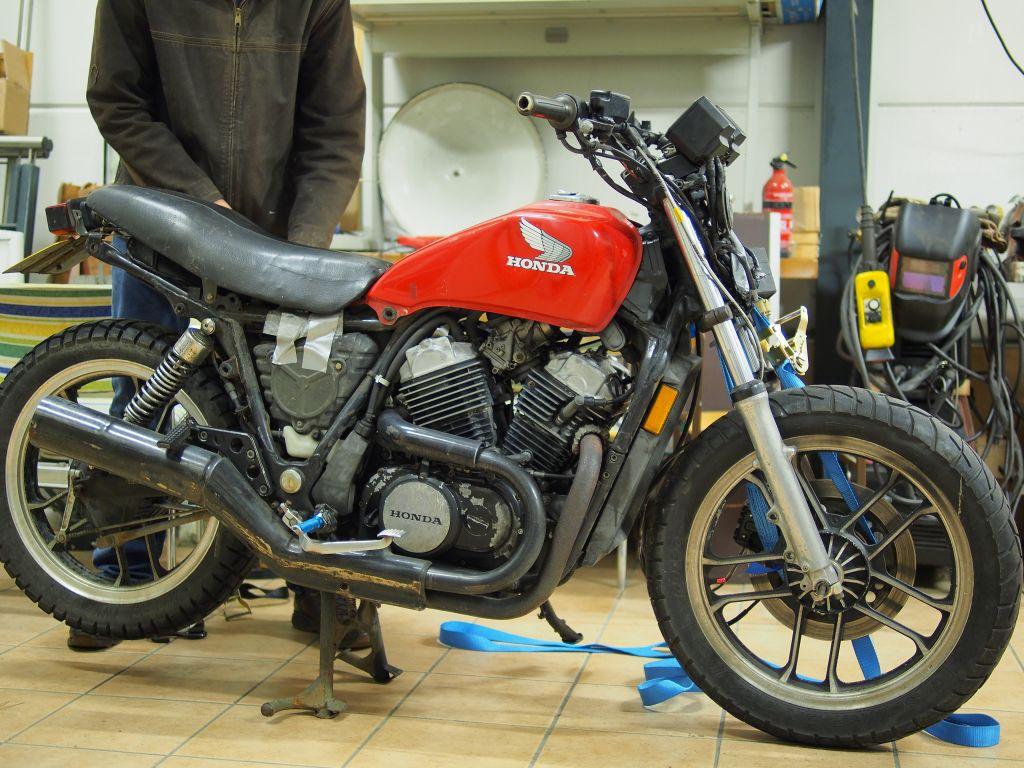
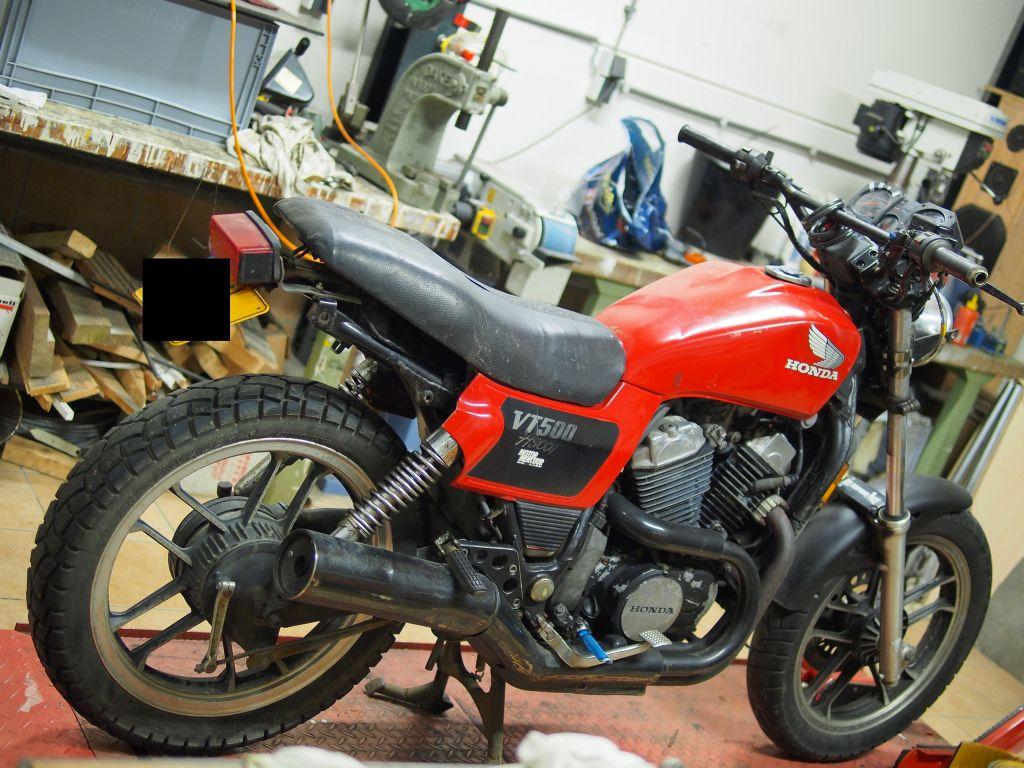
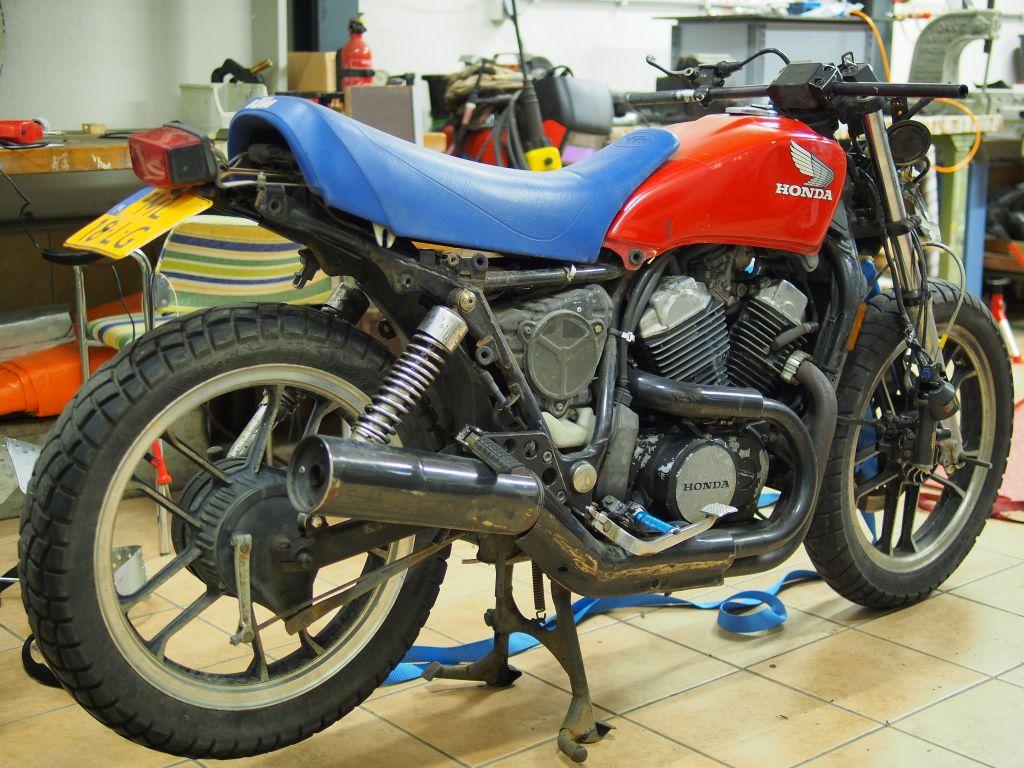
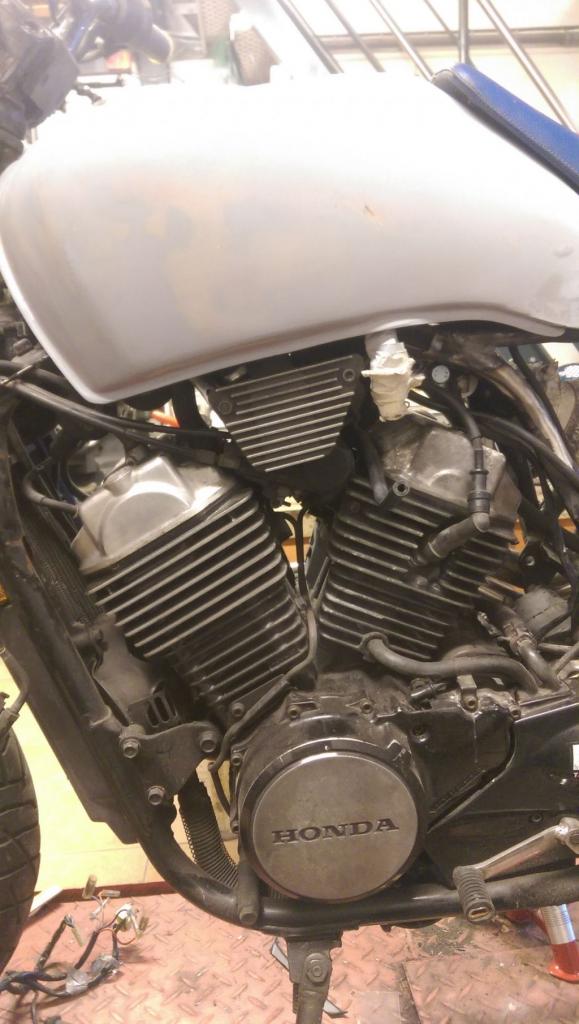

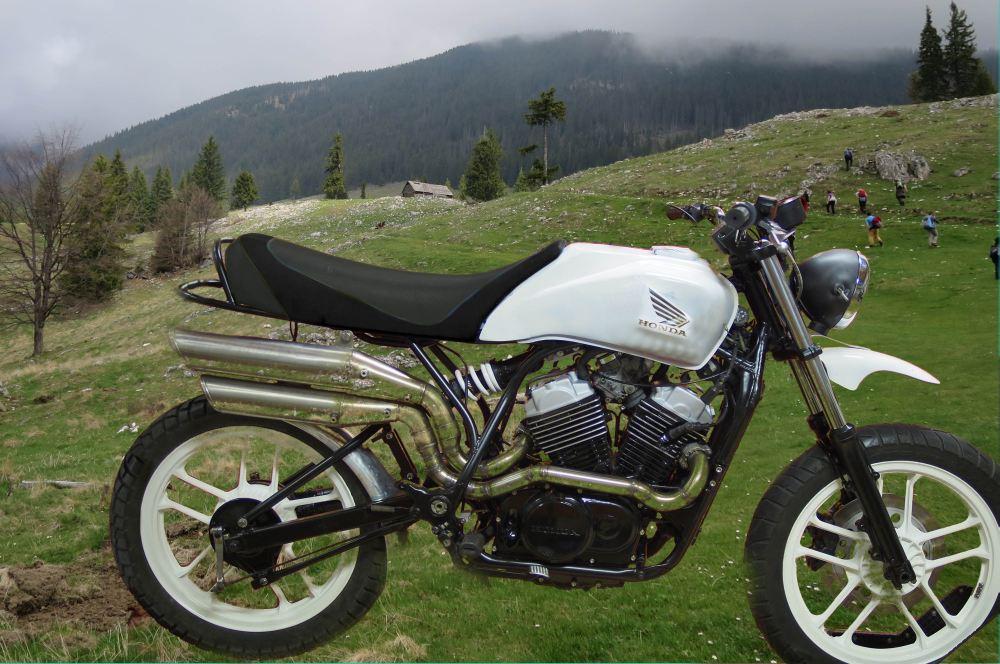
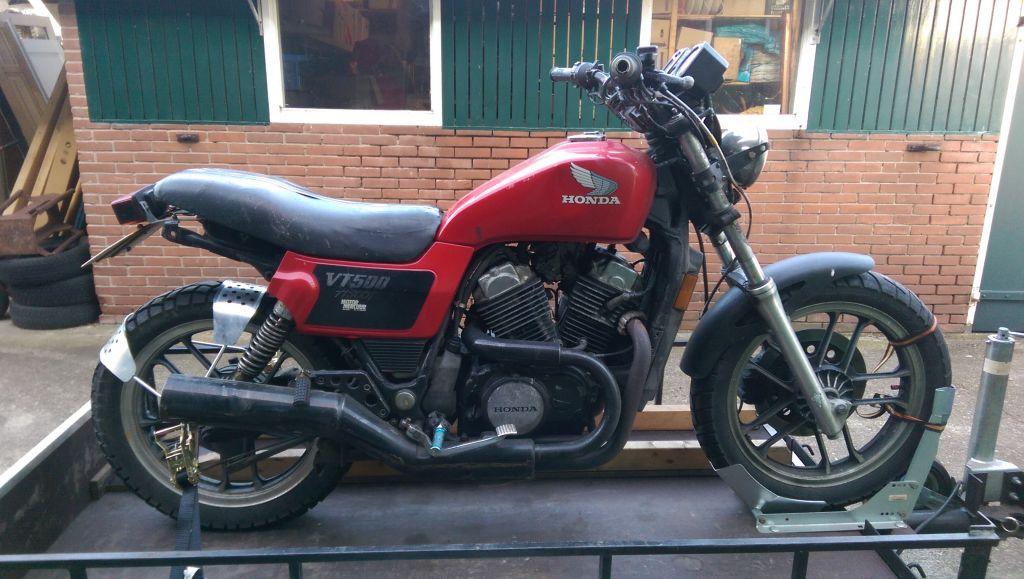
It is a Honda VT500 Ascot, from 1983. With this one I intended to create a city scrambler. Something that resembles the Ducati scramblers from the seventies, but intended for use in and around town. This bike came to be in the setting of the Tuesday-night-club. It is an informal club of friendly doers with a creative mindset. The meetings usually take place on Wednesday nights and it is highly unorganized. The perfect environment for beautiful things to arise.
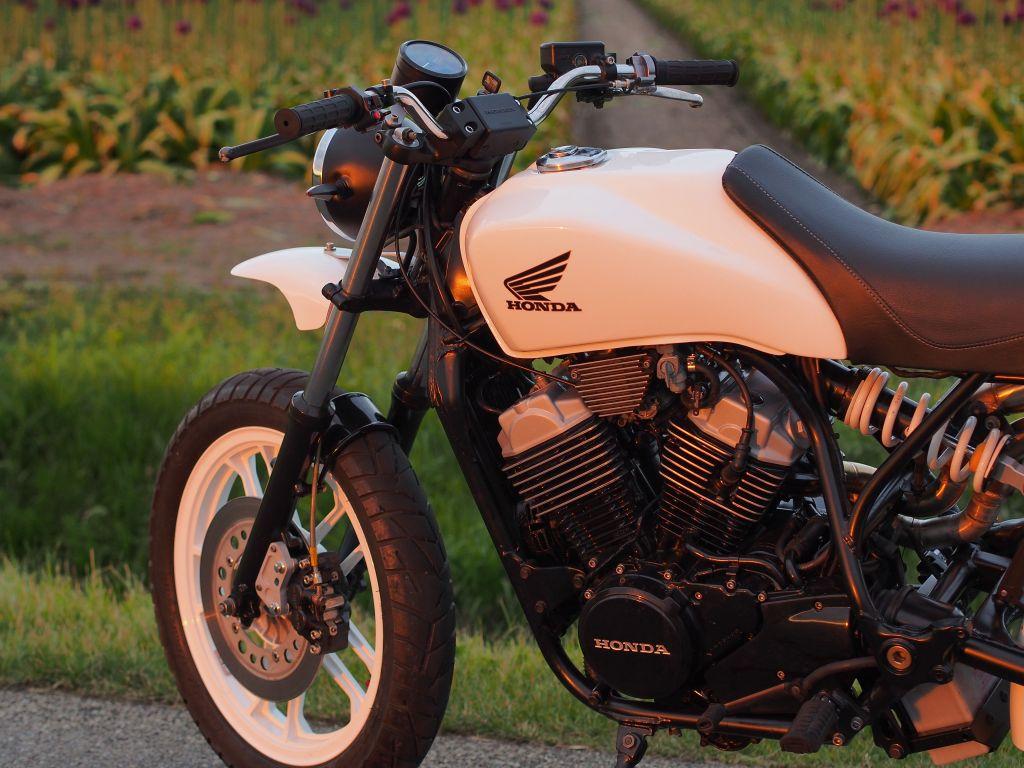
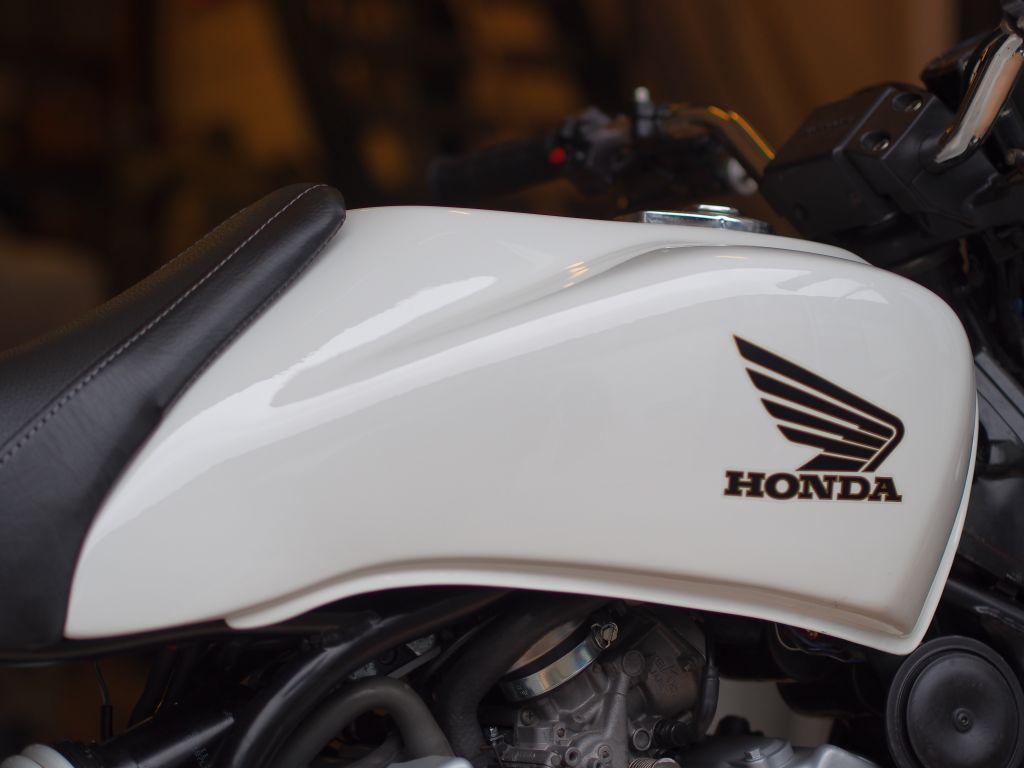
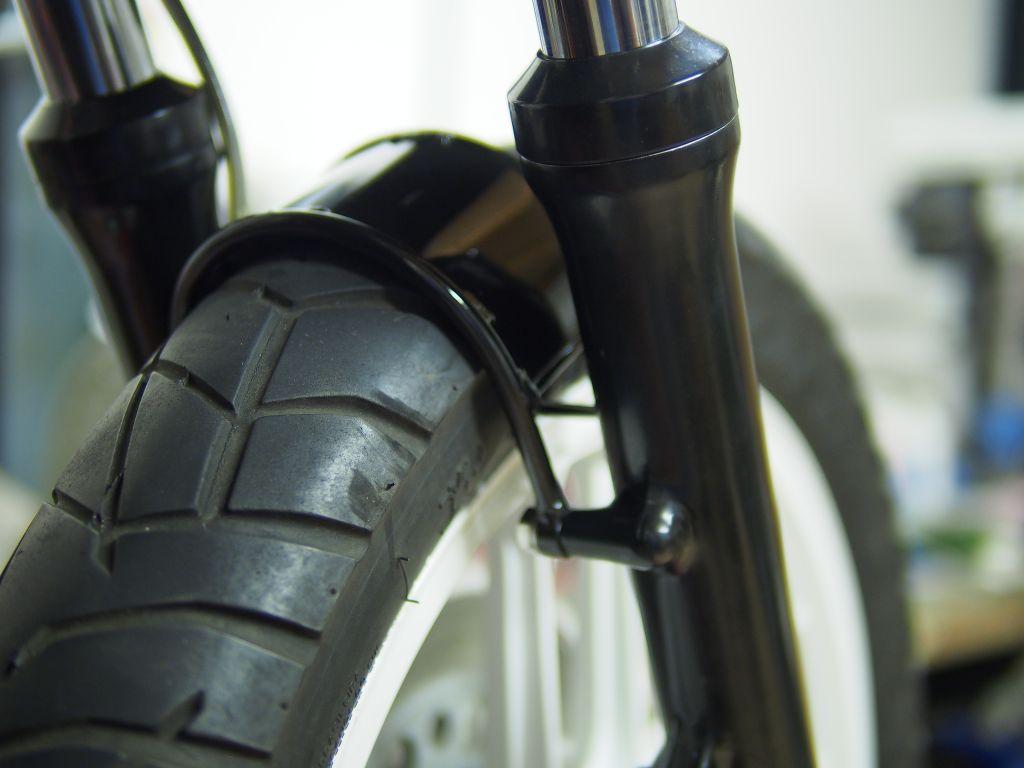
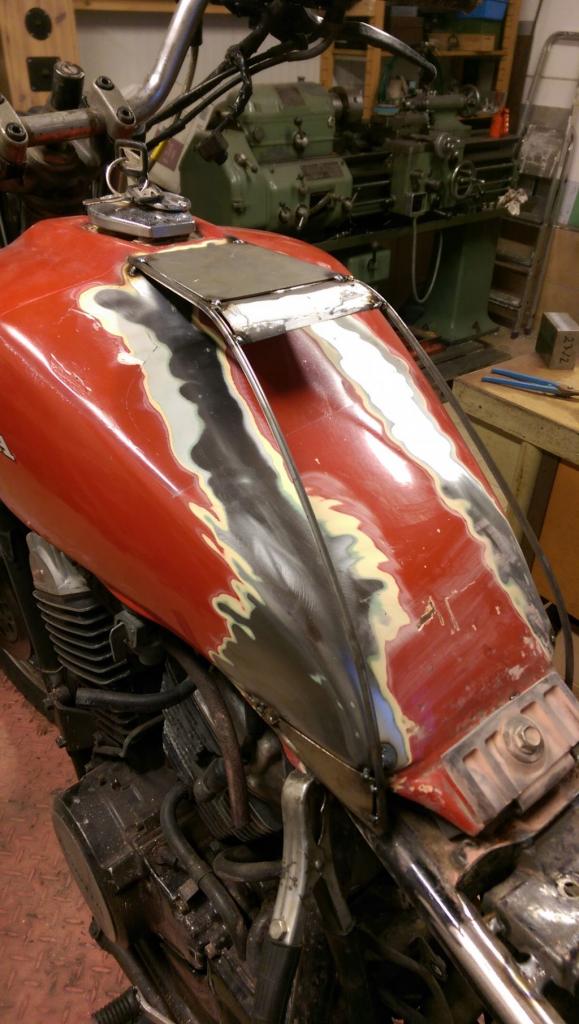
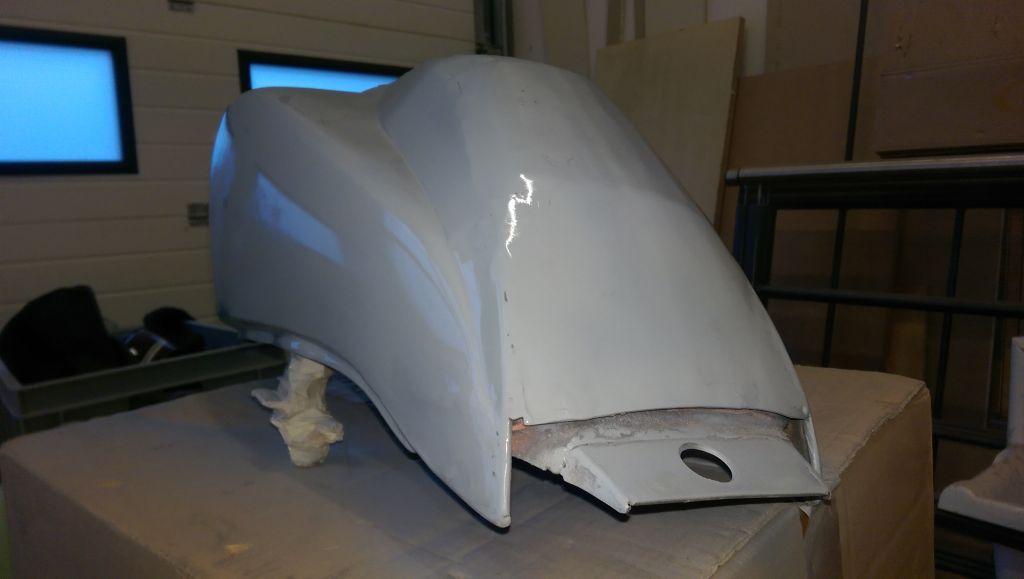
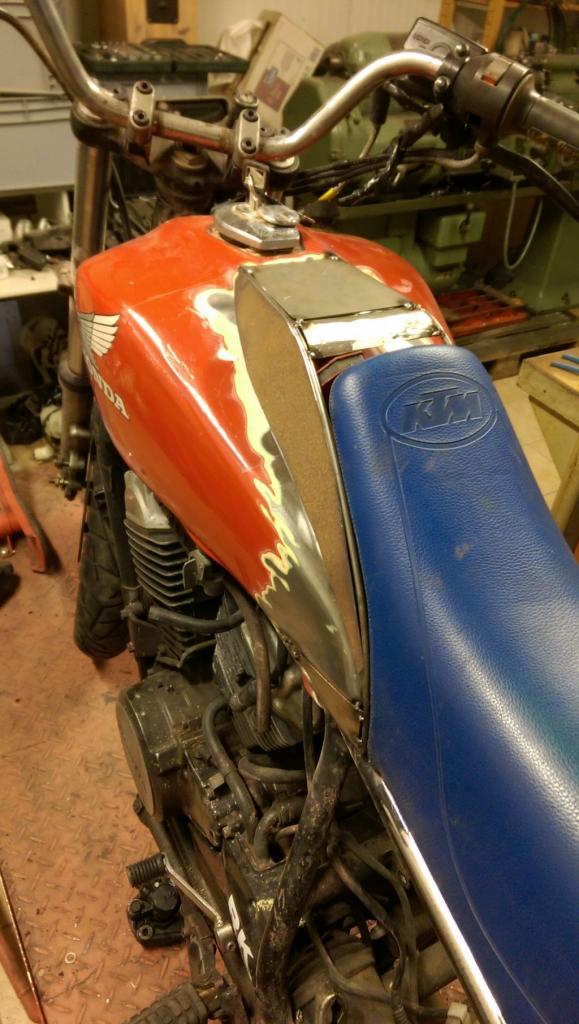
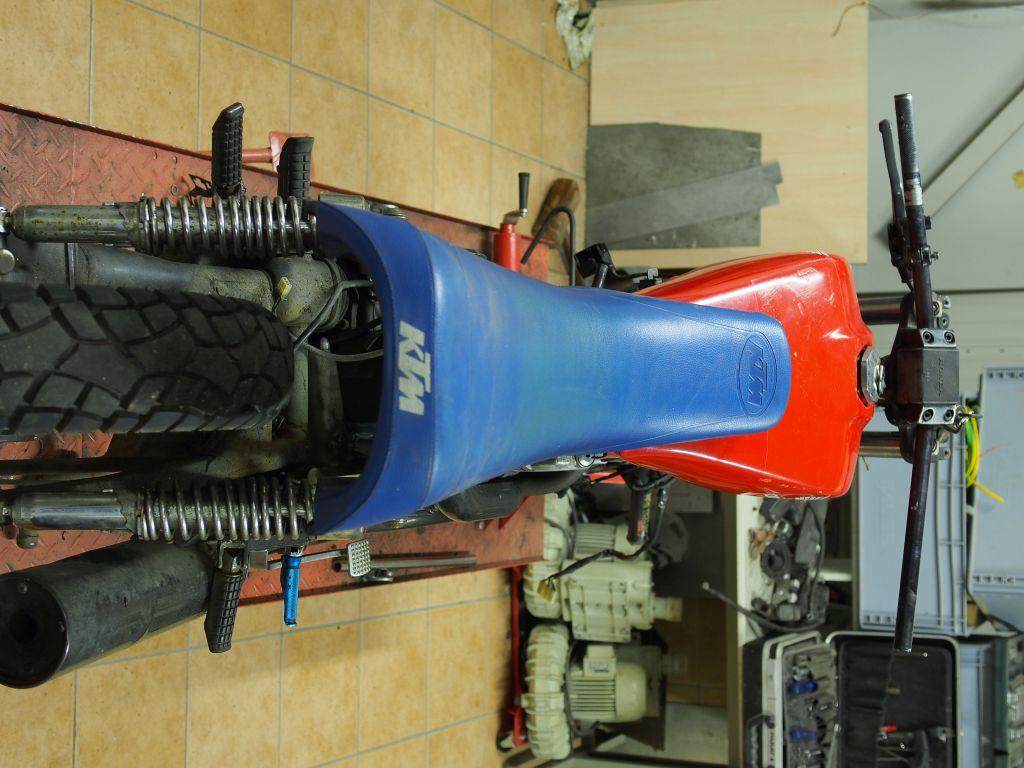
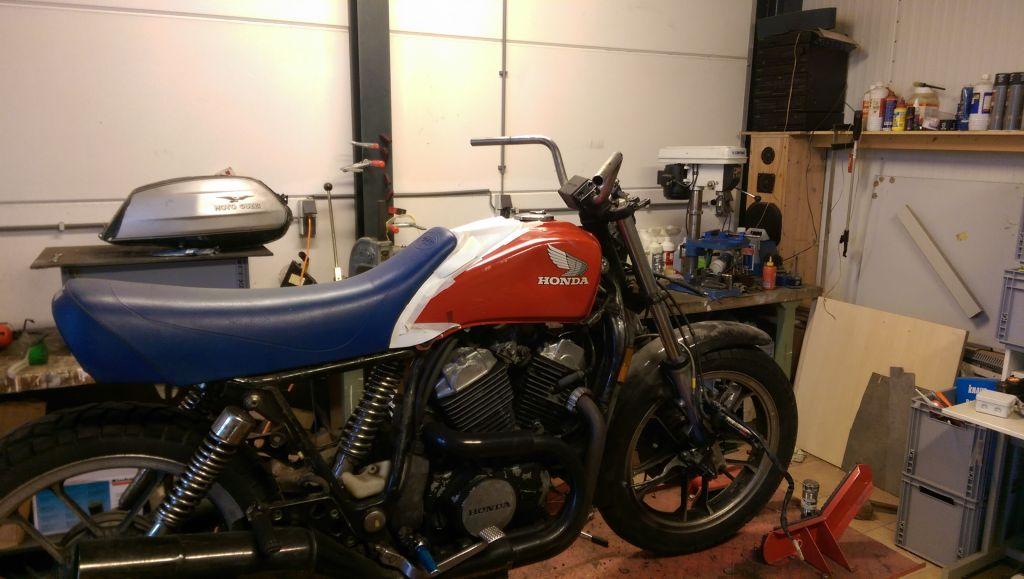
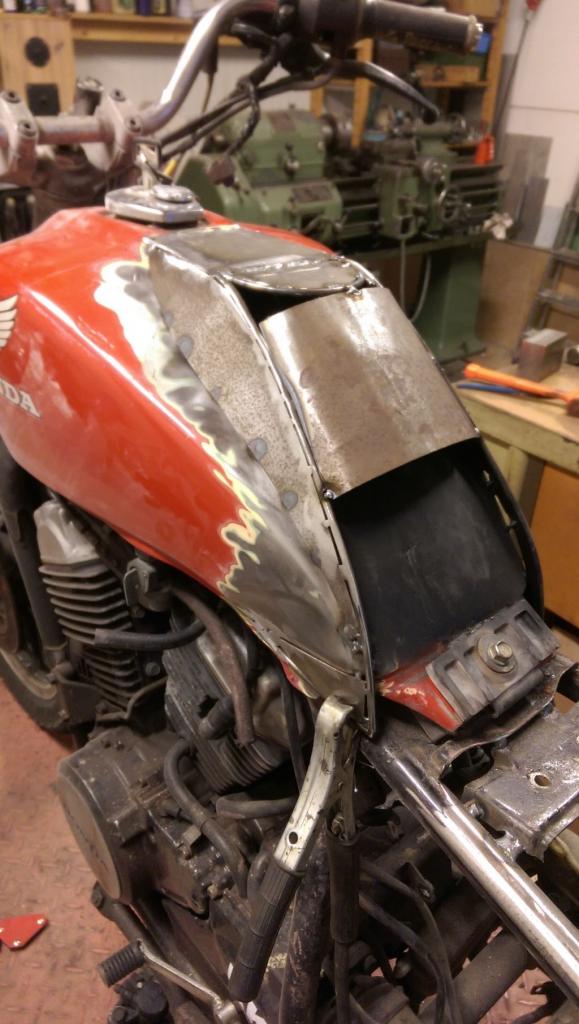
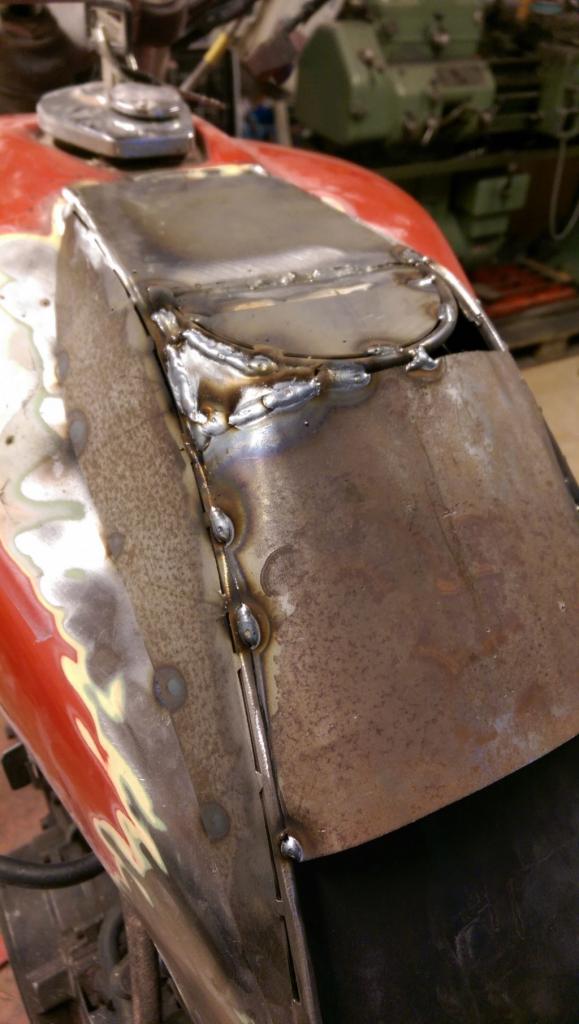
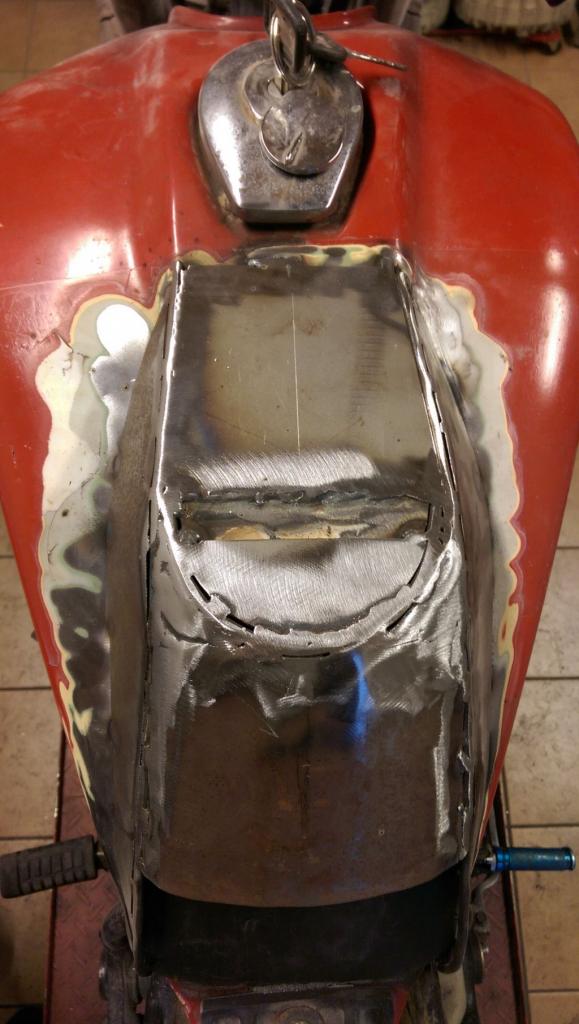
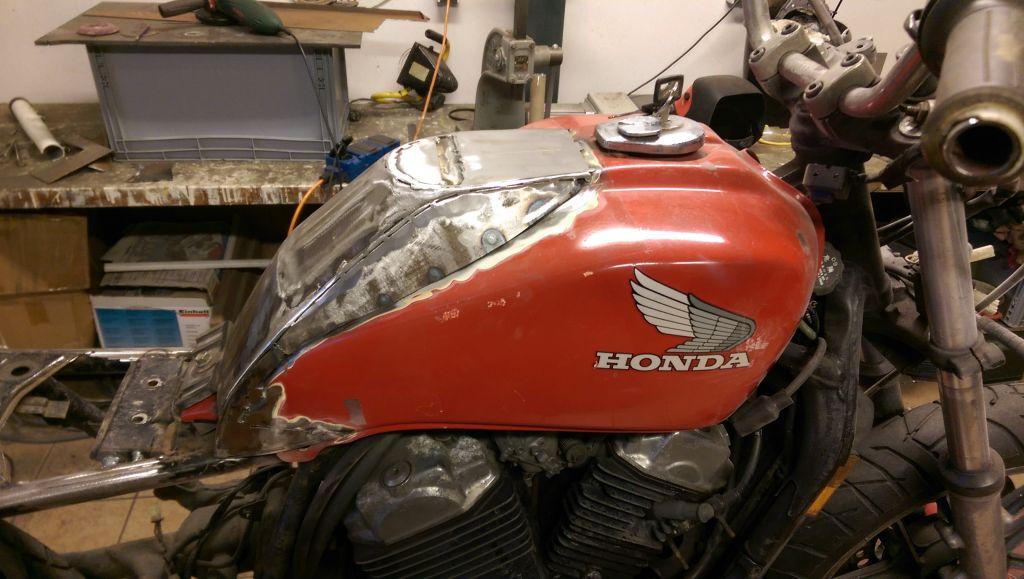
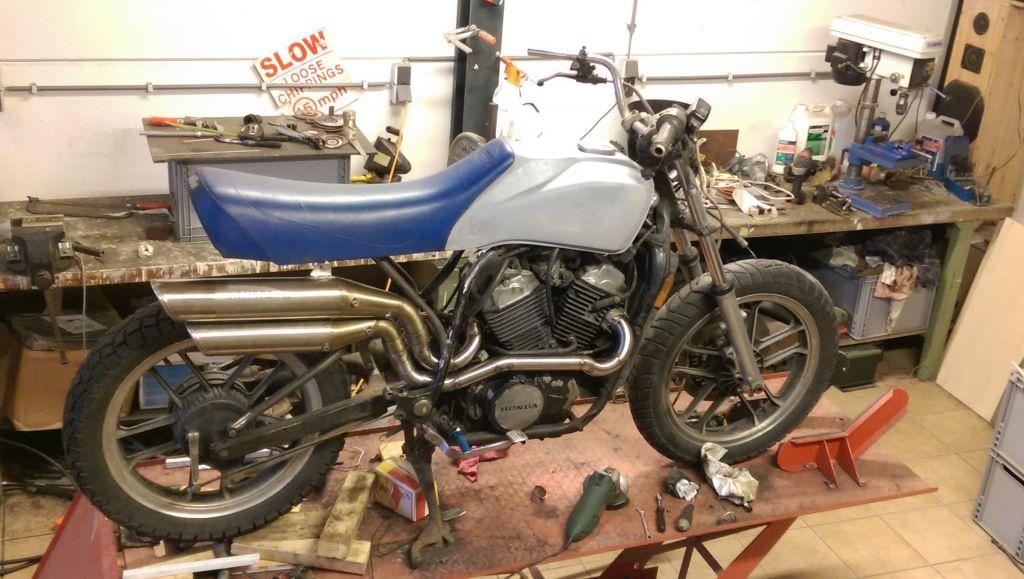
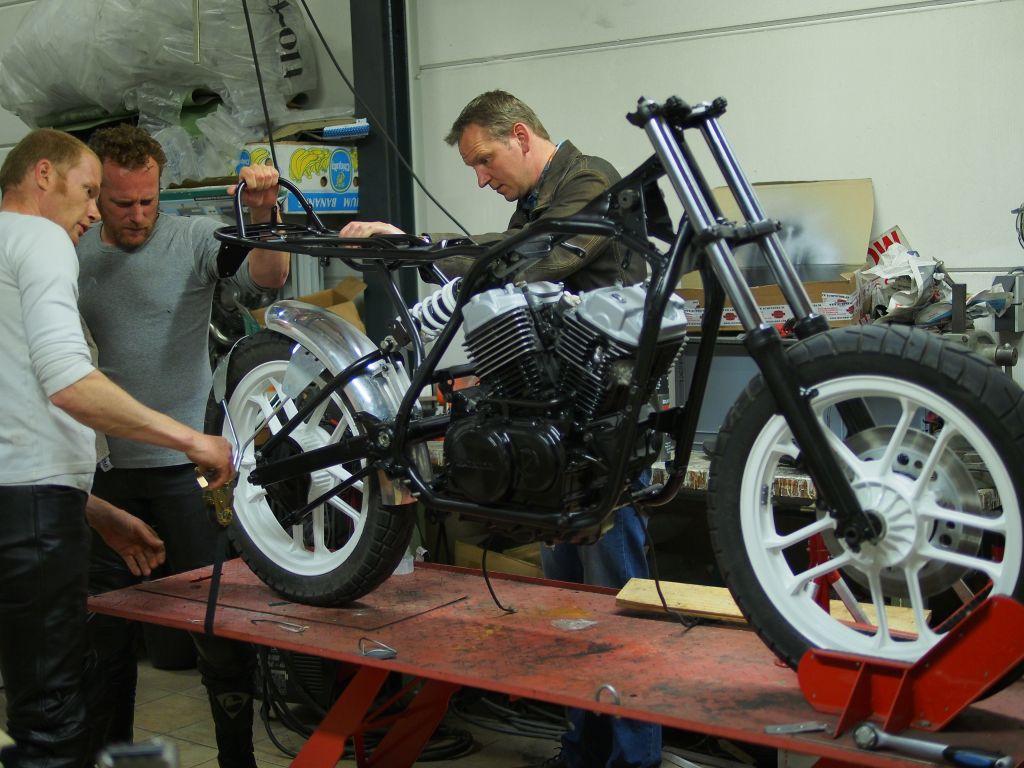
At first the forks were swapped for a nice pair of GS1000 fork legs, which are 85 mm shorter and sprung a bit stiffer than the stock ones. The seat is the original seat from the KTM, now KDM bike and it just matched nicely with the tank and the frame. It made me forget about the plan I had with a Moto Guzzi Falcone tank and quickly set me to work on modifying the stock Honda tank. I had to find a way to shape the tank and see the curves of the seat continued in the curves of the tank. Some sheet metal, some creative moments, some welding and some epoxy filler later it had the shape that I wanted it to have. Time for some reflection, walk around it a few times, gaze at it, show it to friends, talk about it. I was satisfied with the shape of the tank, and modified the sub frame to fit.
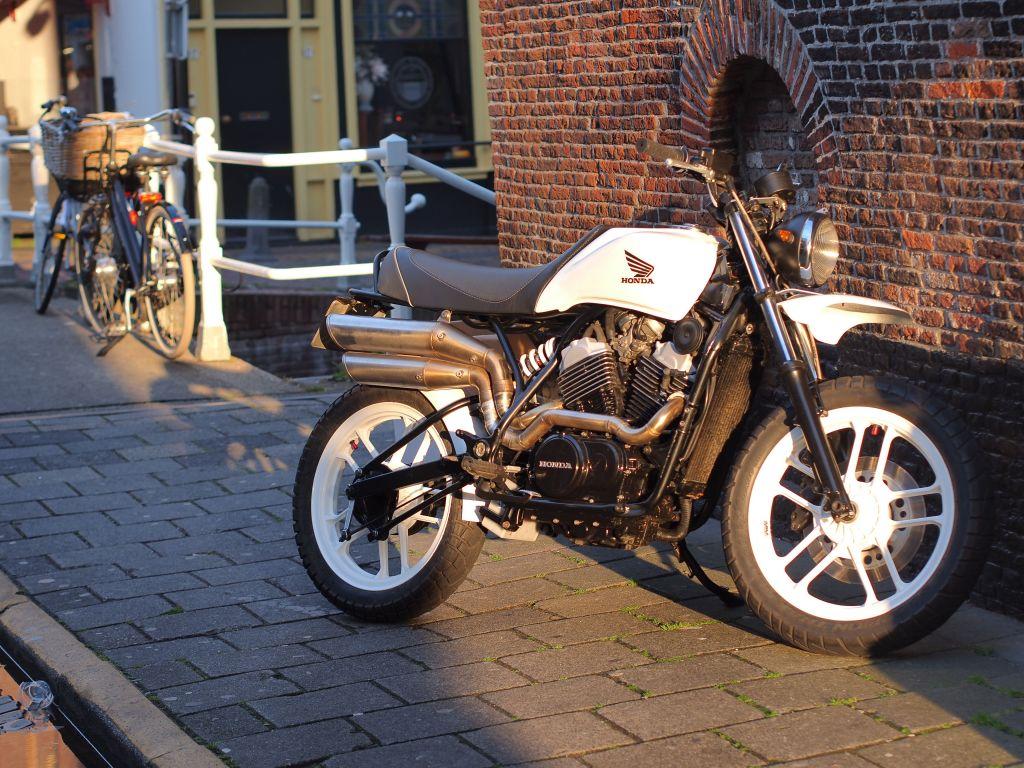
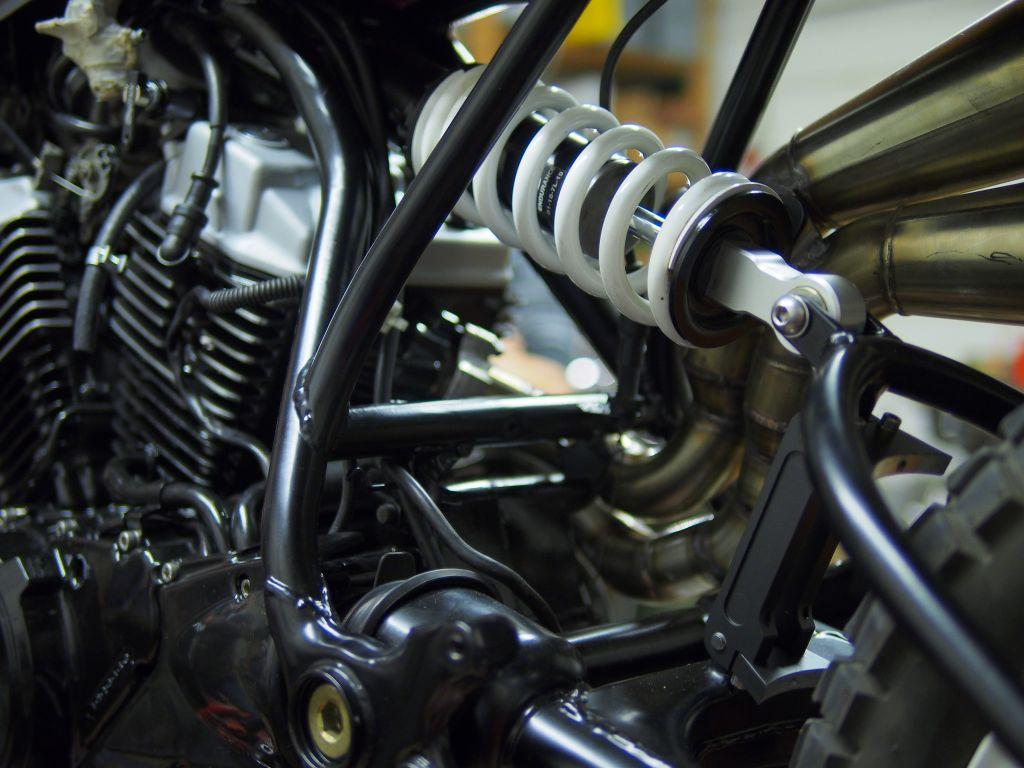
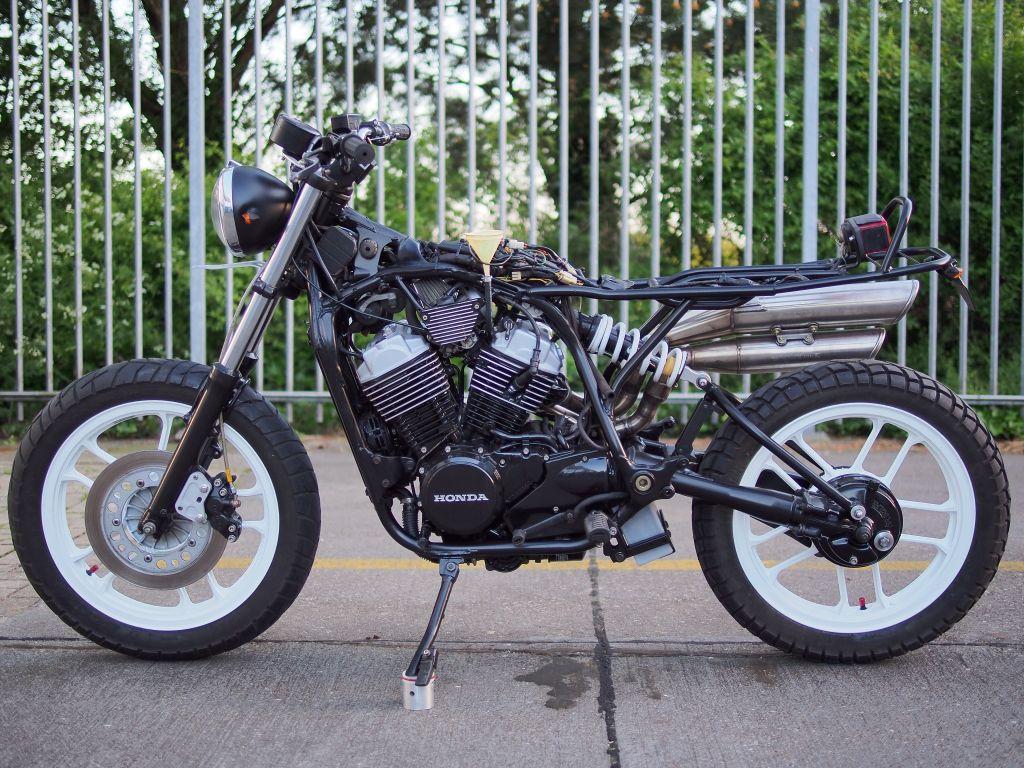
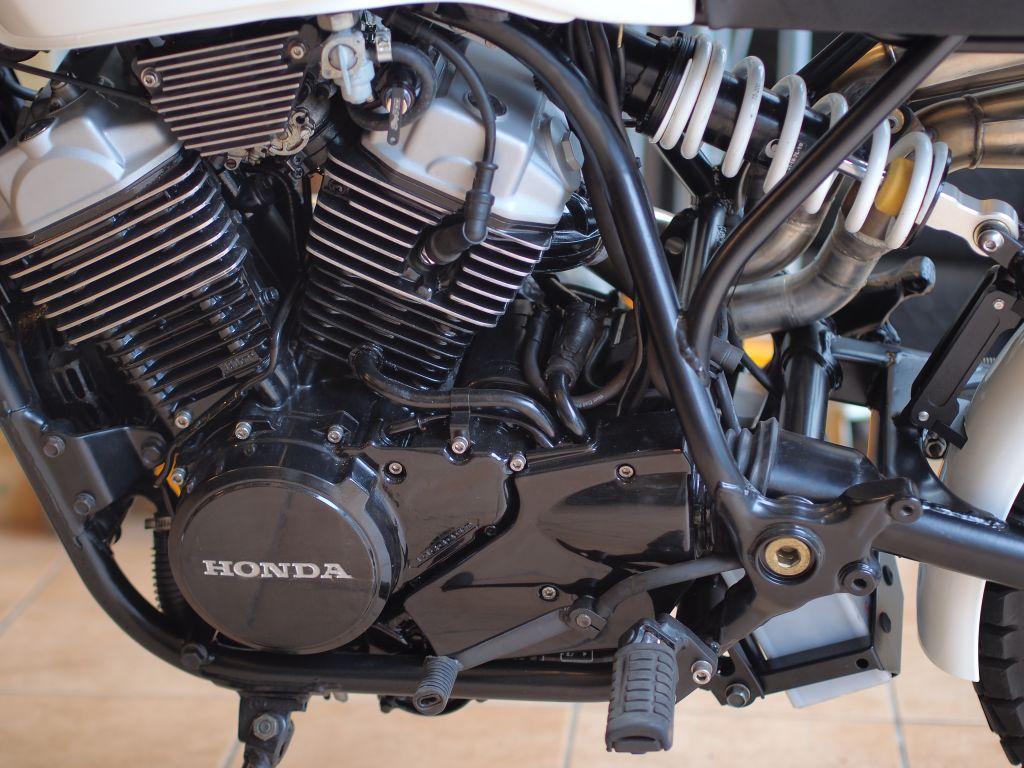
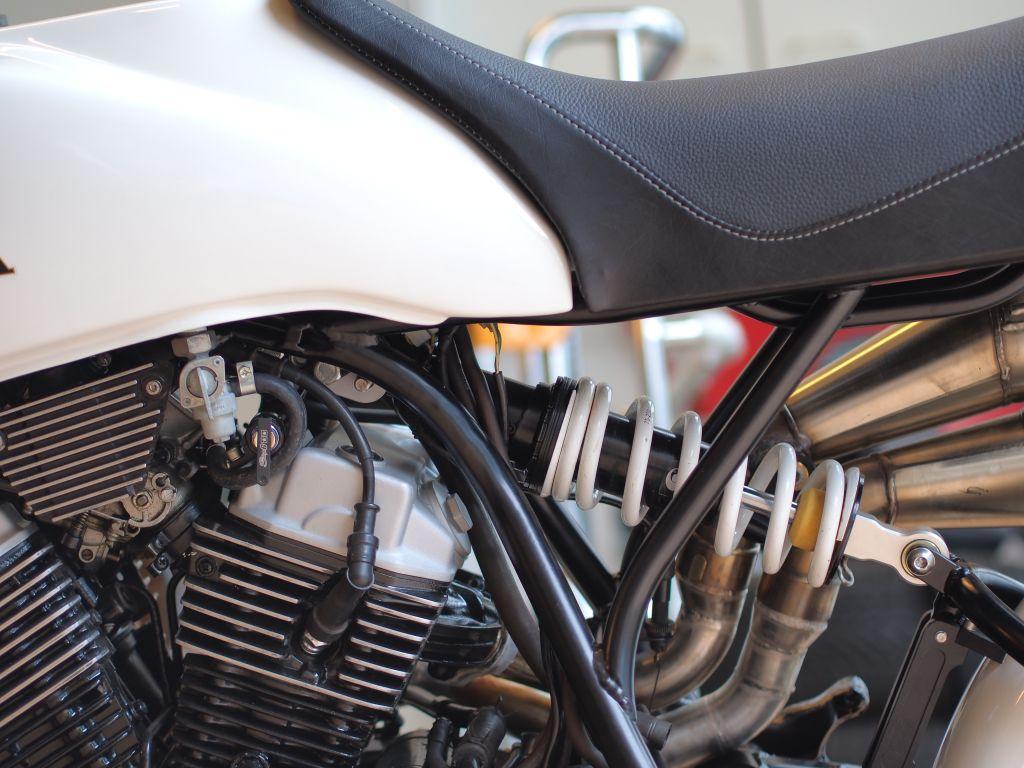
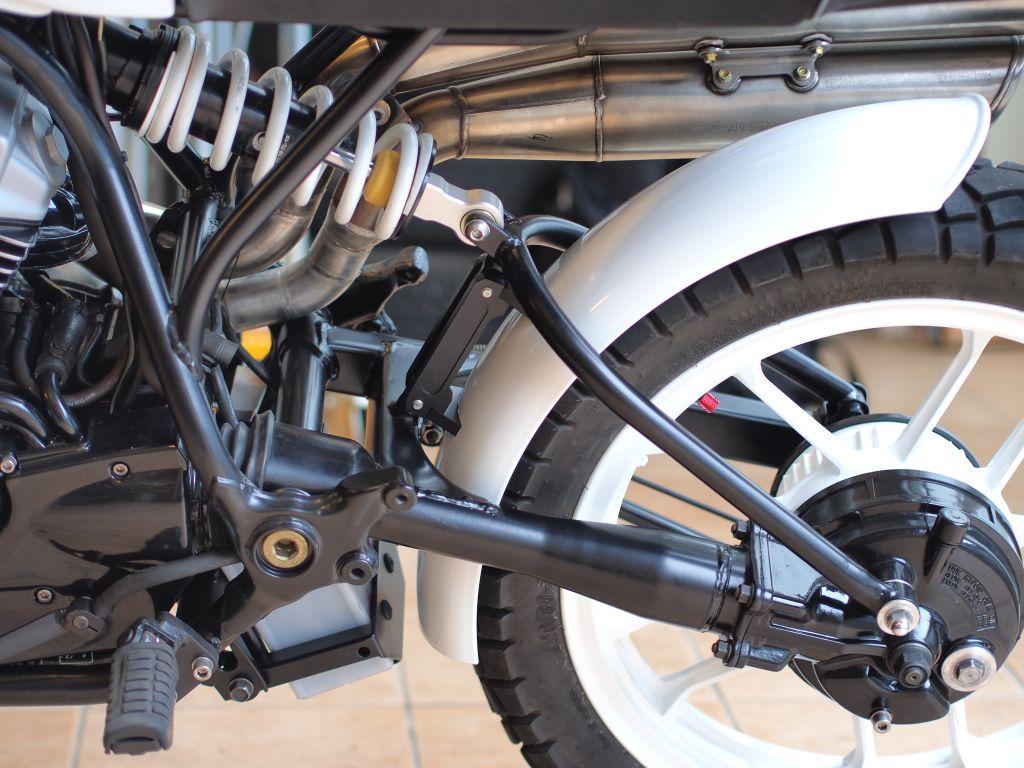
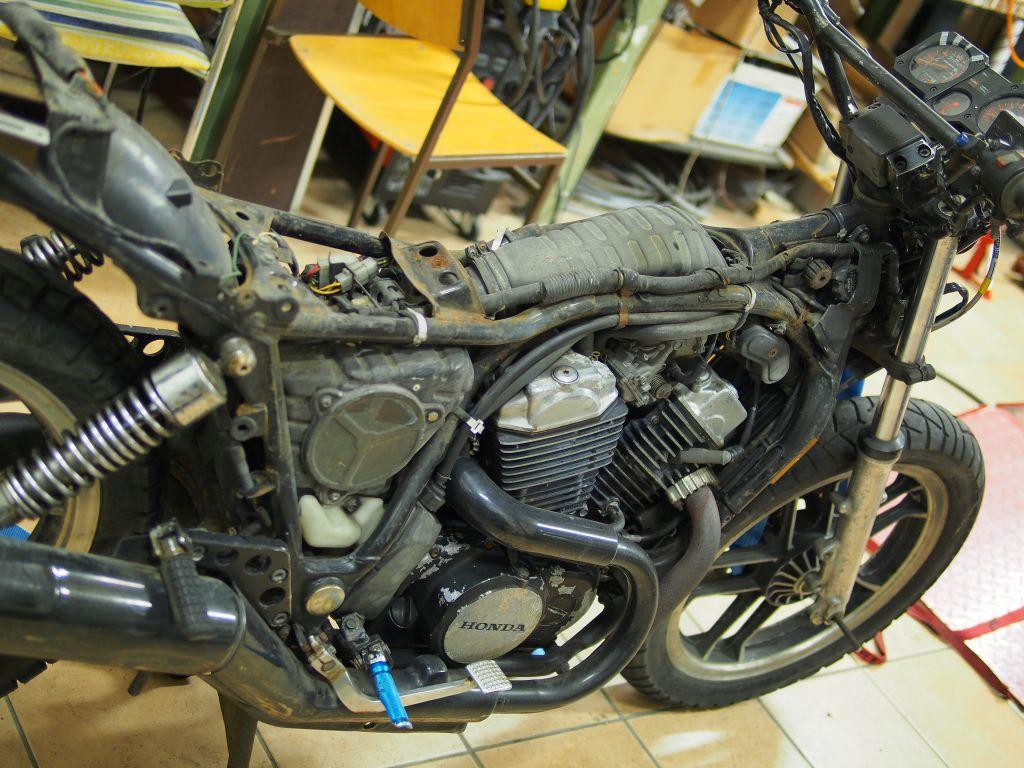
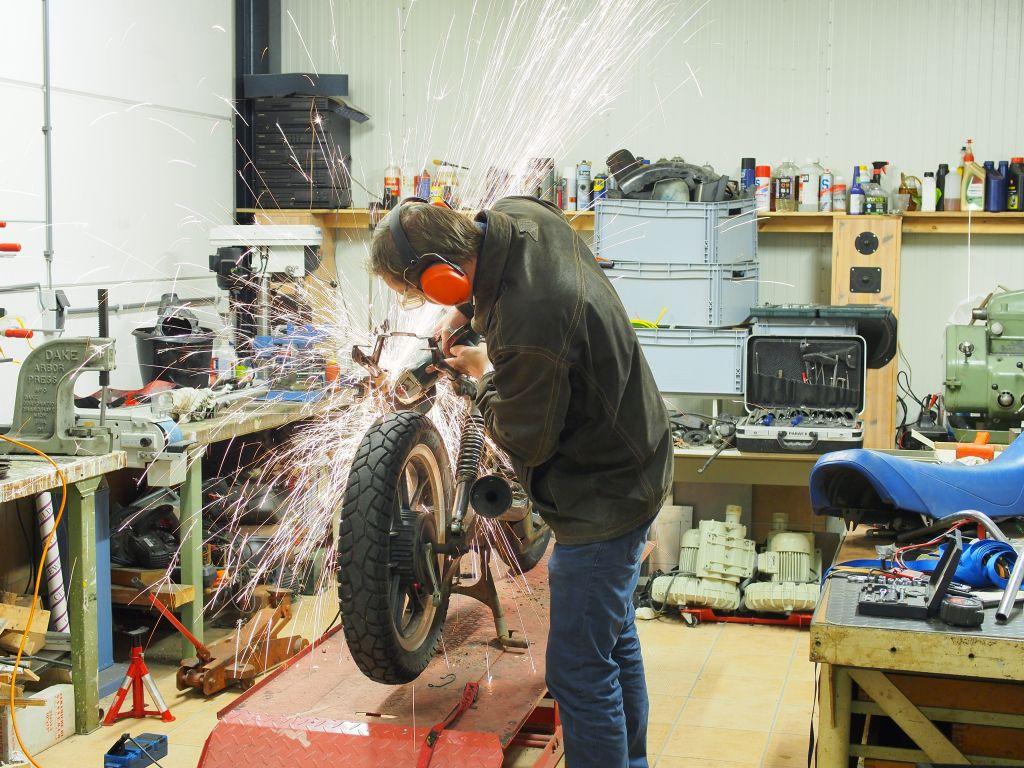
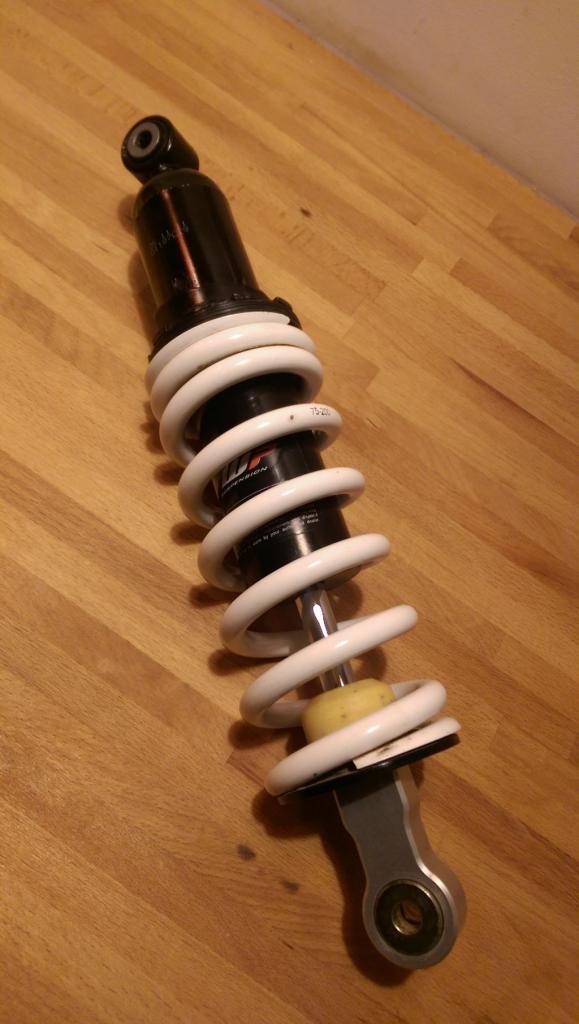
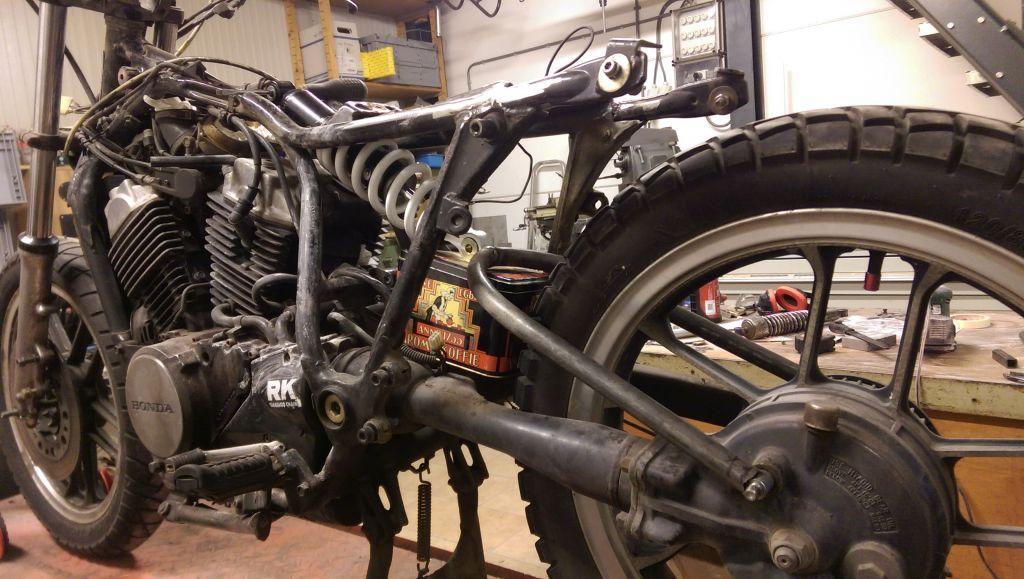
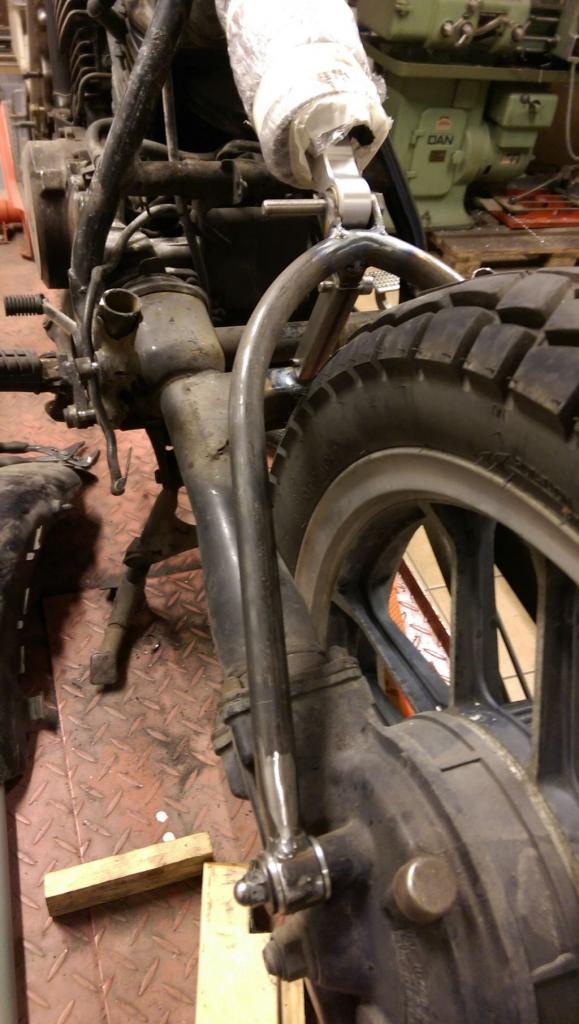
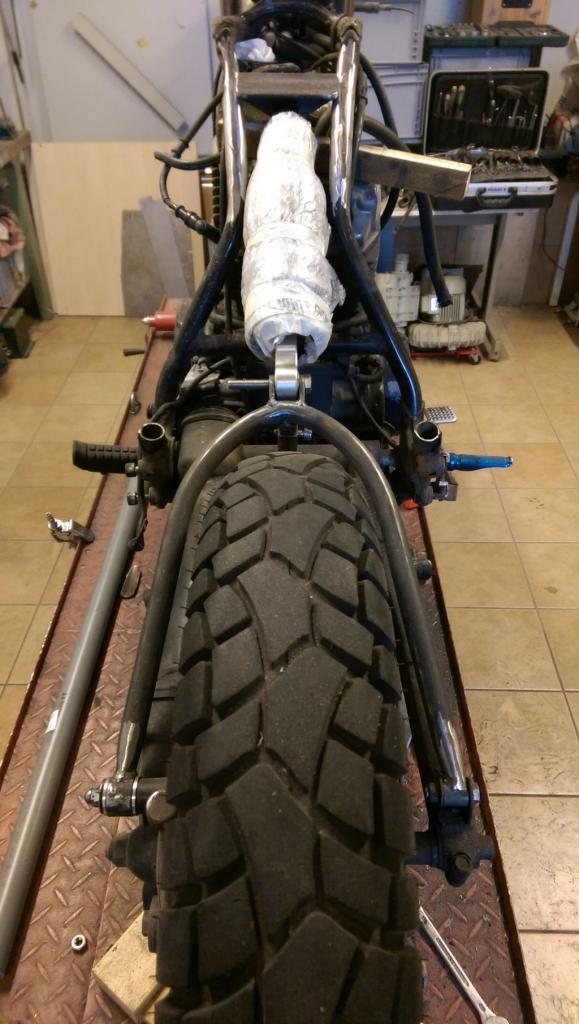
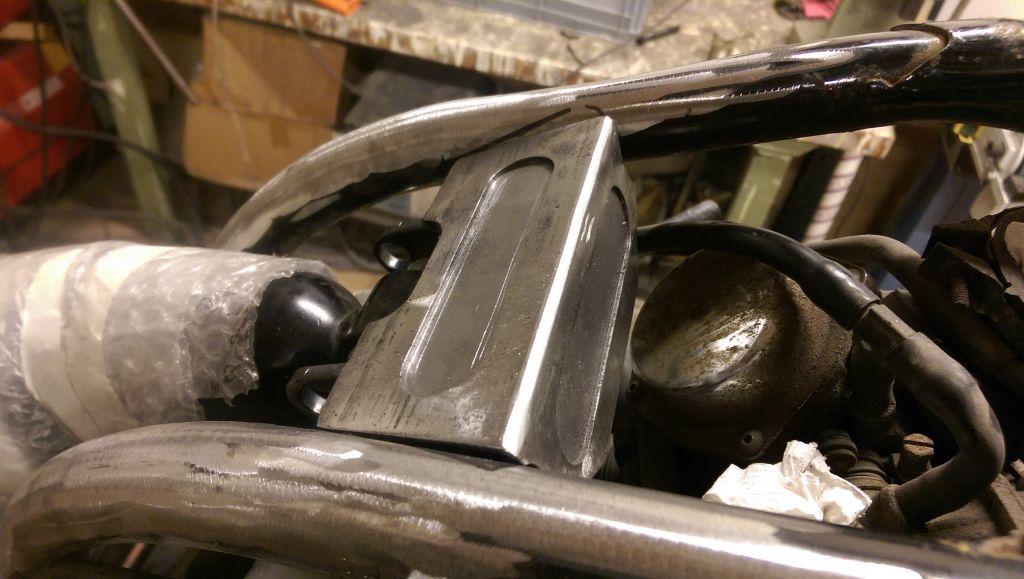
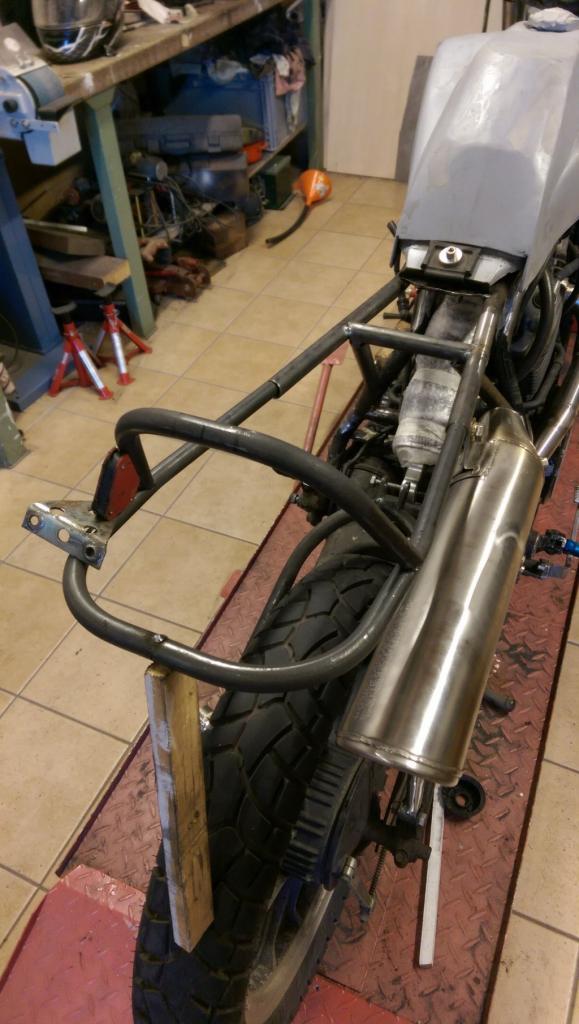
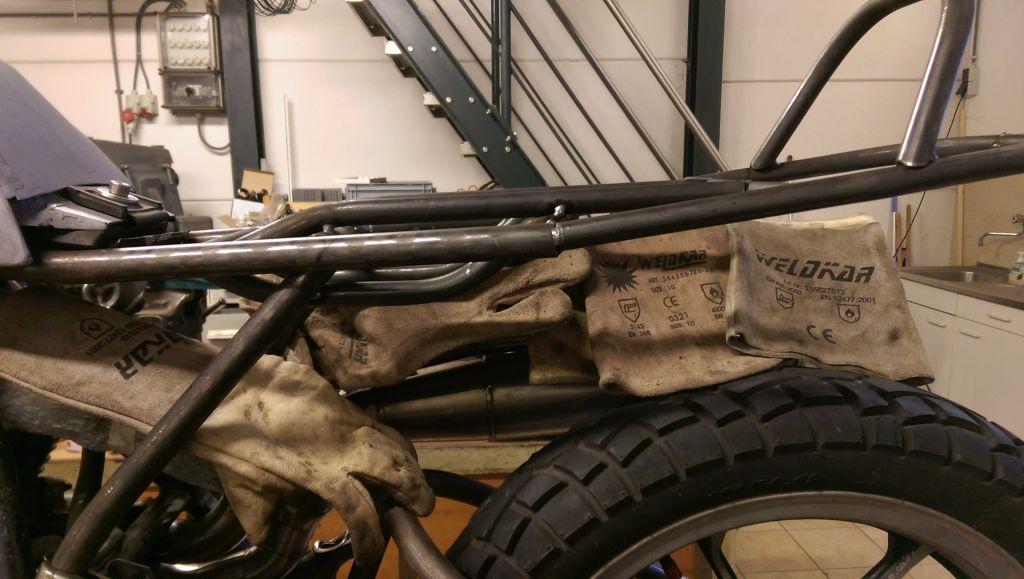
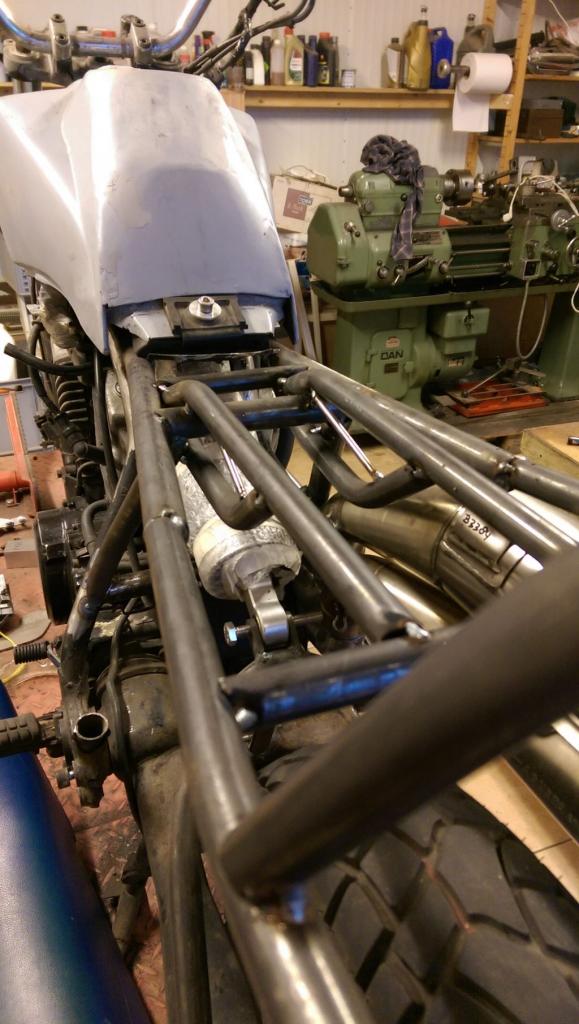
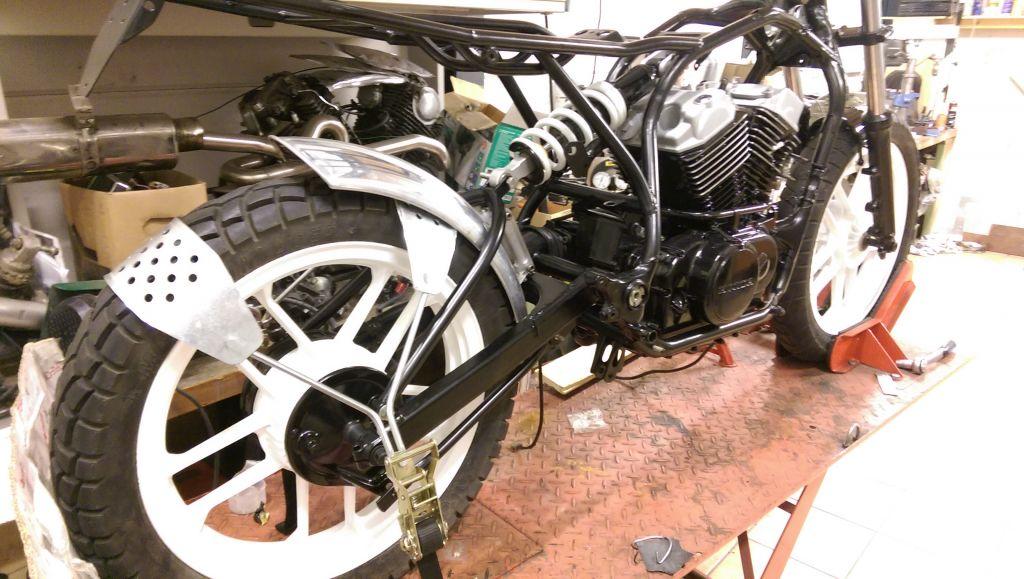
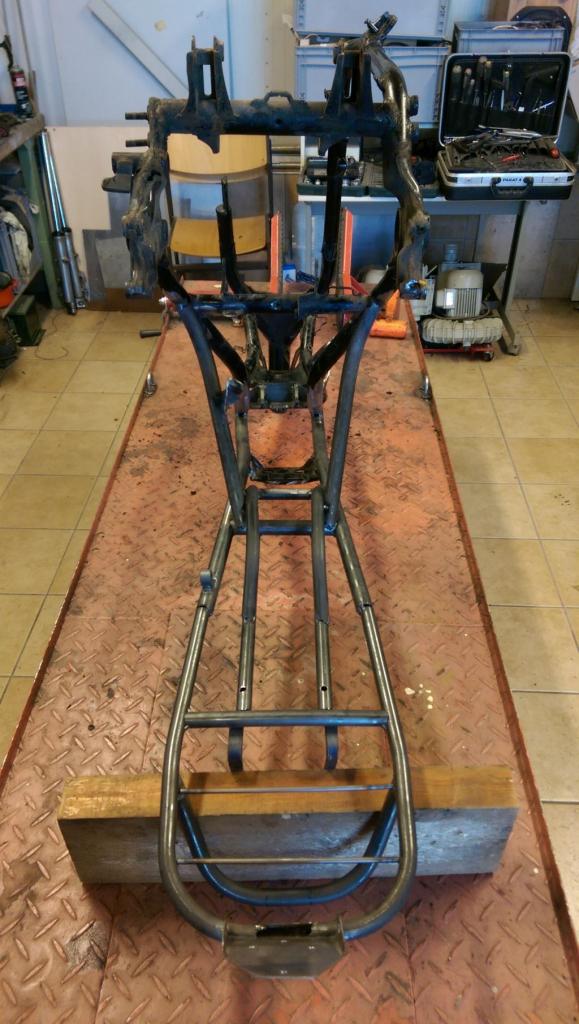
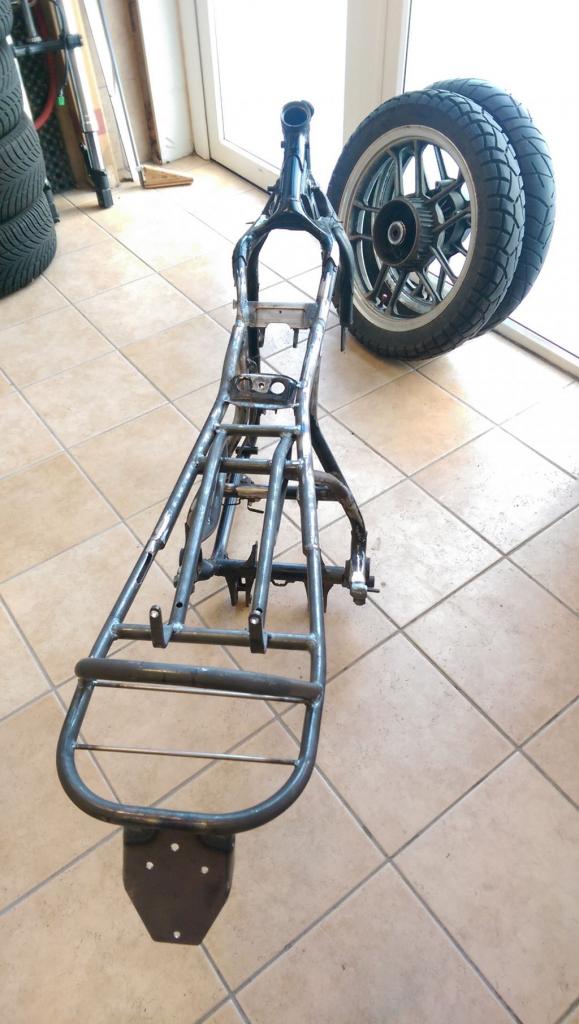
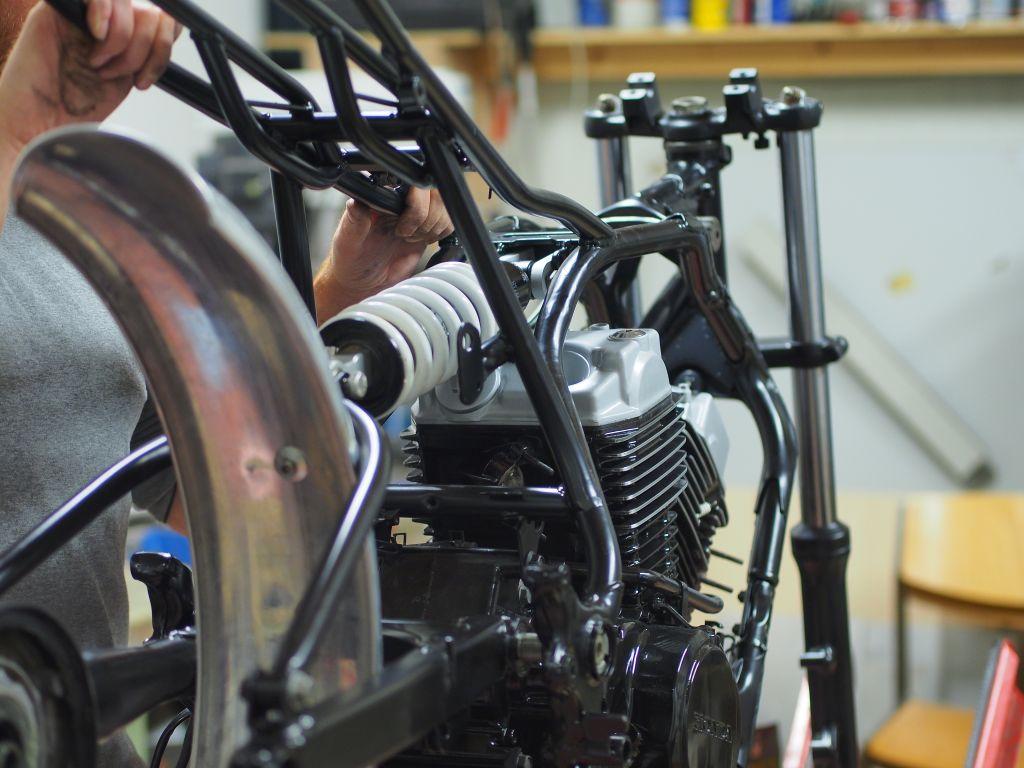
The twin shocks looked disturbing, they also took up valuable space for the new exhaust. Patrick suggested ditching them, and so we did. He also suggested a white on black colour scheme, I closed my eyes and saw white wheels, tank and handlebars on a glossy black frame and engine. New heading, new scavenger hunt: I had to source a mono shock, preferably white to fit in the colour scheme and found a hardly used WP unit. Black, with a white spring, nice! This required a brace on the swing arm, something we recently did to the Suzuki bike as well. On the Ascot, it had to be bolted on as to keep the shaft drive serviceable. Pretty soon, the whole rear end of the frame was cut off and a new mount point for the mono shock was placed between the frame rails. The swingarm brace was made from steel tubing, mounted on the original fixation points of the twin shocks and connected to a few billet aluminium parts in front which double as the mudguard bracket. Spring thing sorted, now we could see the new reality around the rear end of the bike. Once a new thing is in place, others parts can be shaped around it. First came the sub frame (yes it was sorted earlier and then cut off because of ugliness), the exhaust system followed shortly after.
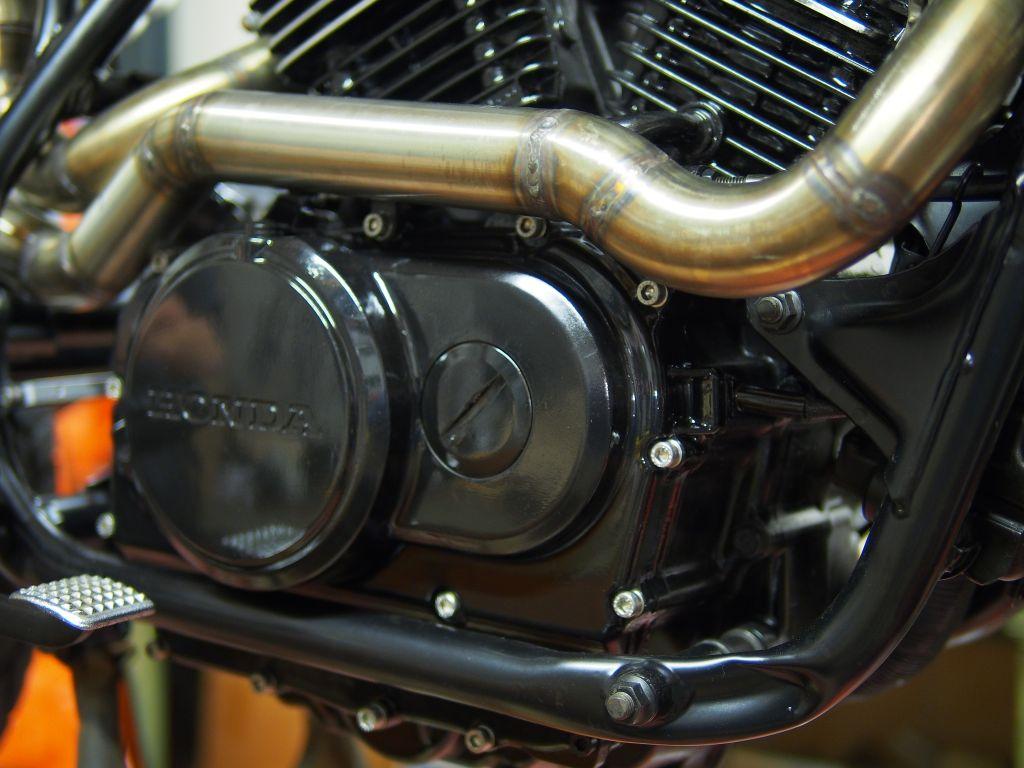
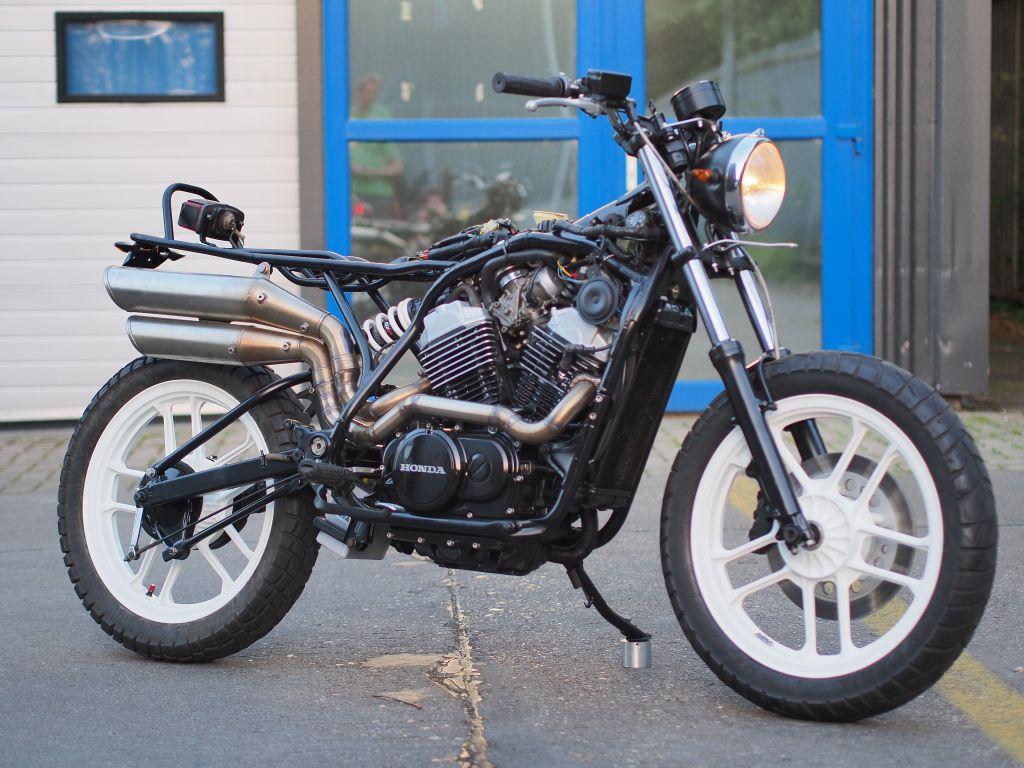
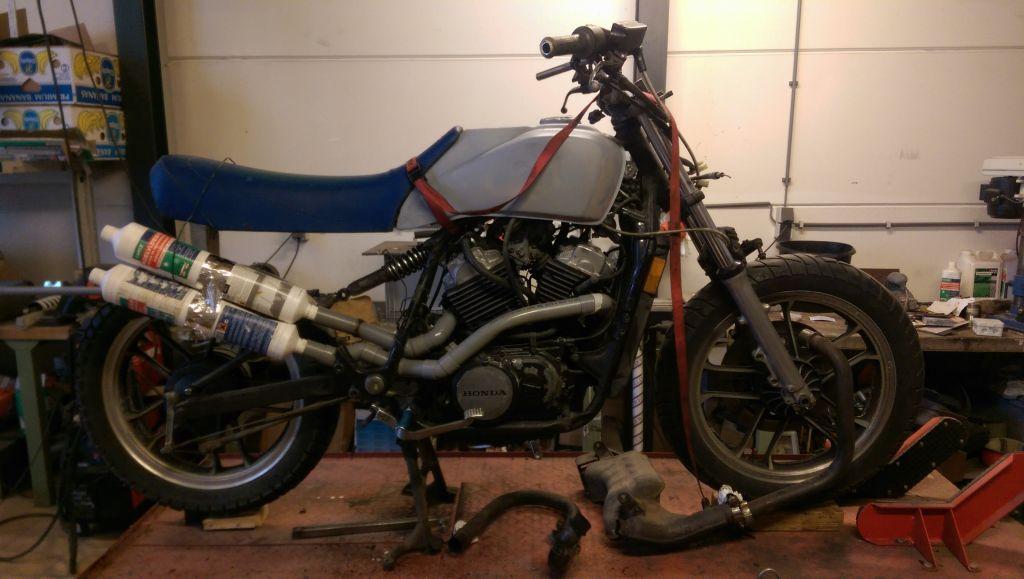
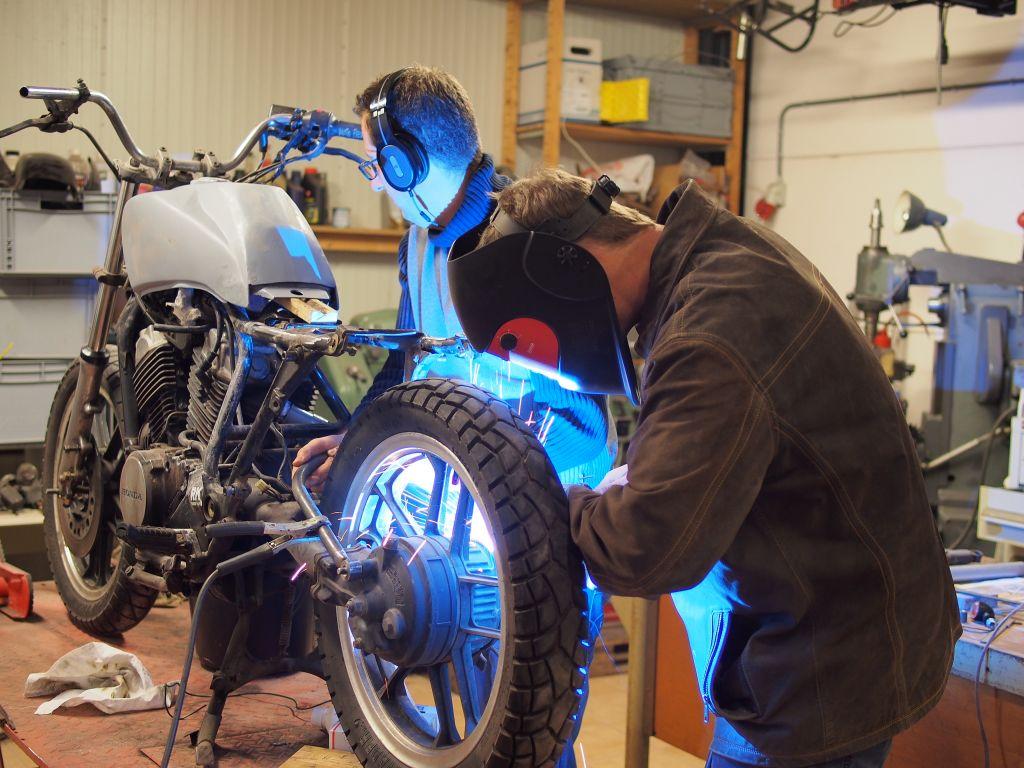
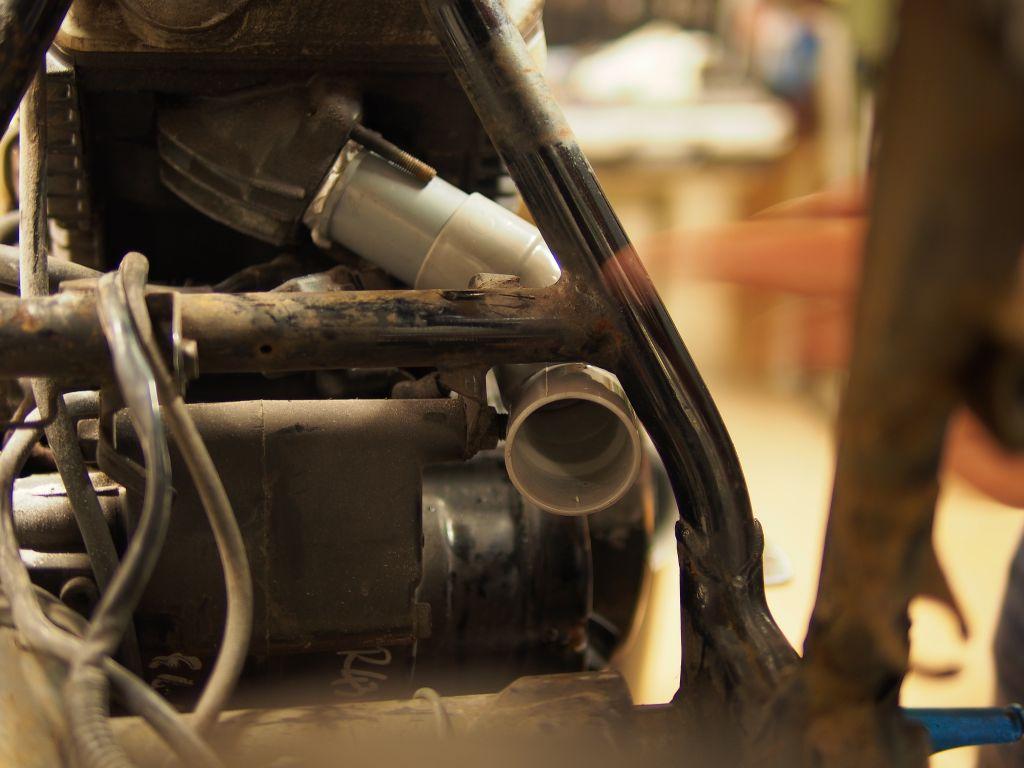
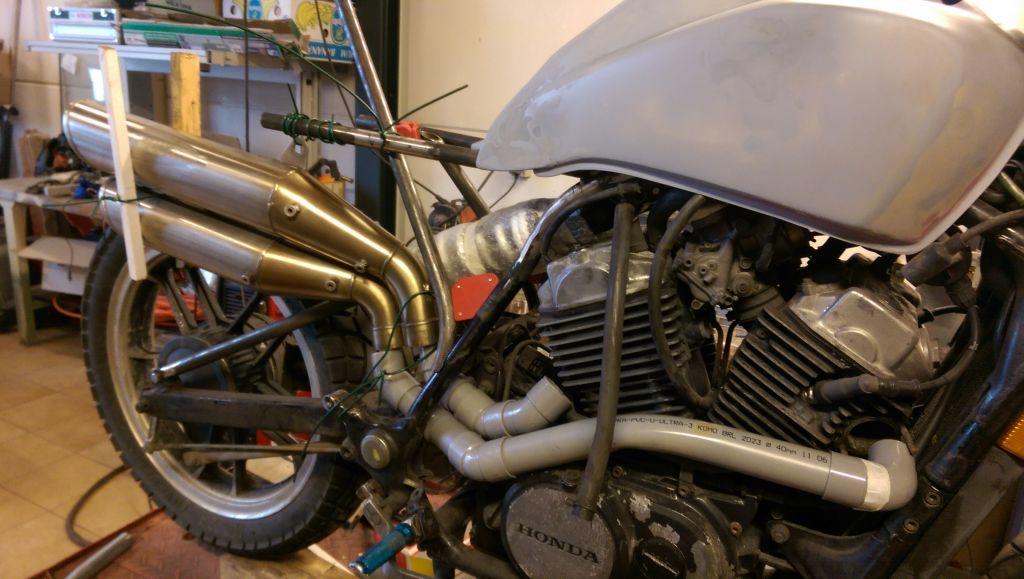
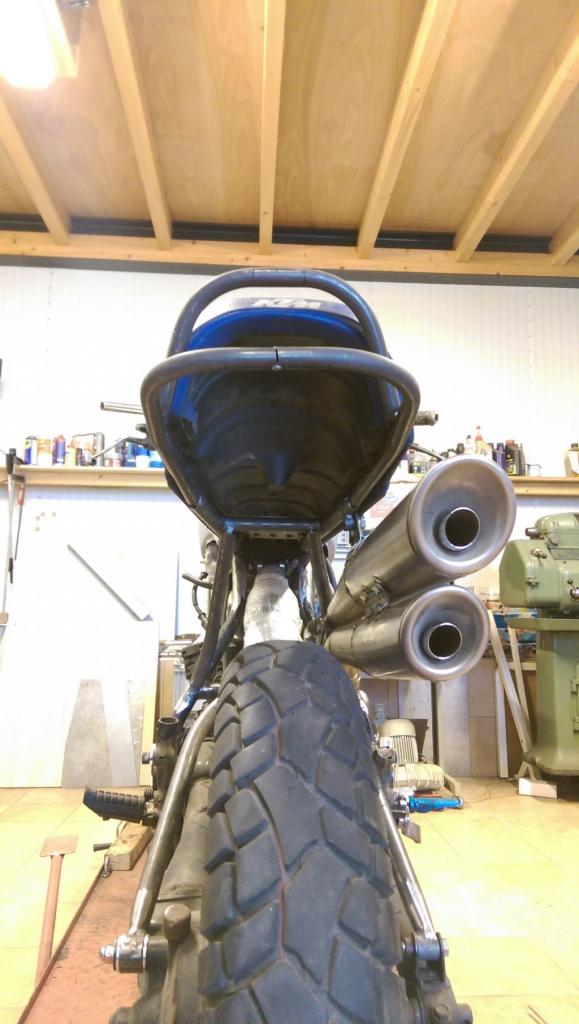
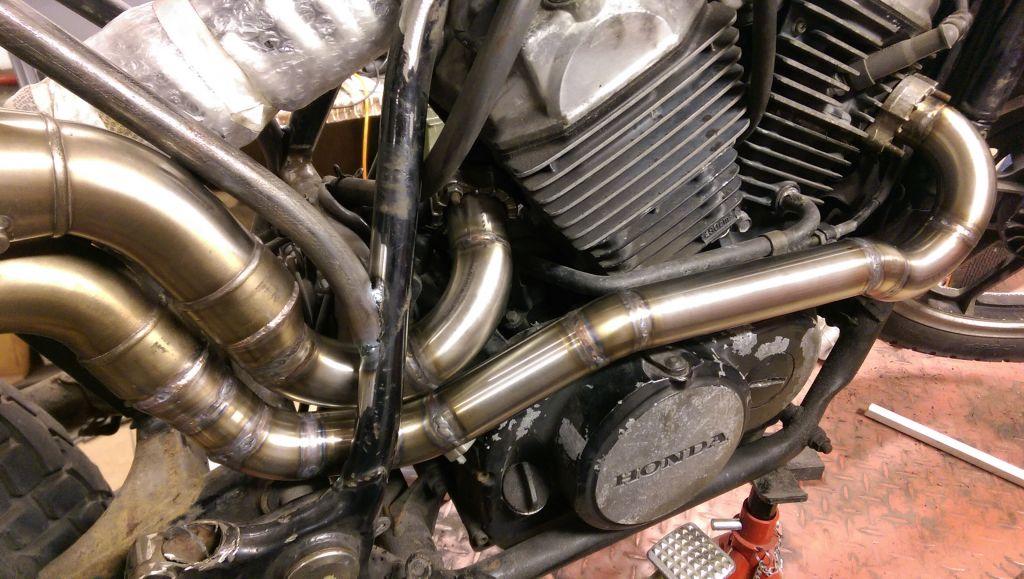
For the exhaust, I made a mock-up from plastic tube and empty bottles just to get some visual feedback on my ideas. This was the outline of the new design: two pipes, two high mounted mufflers, no collector, all on the right hand side of the bike. Contemplating all the options for the mufflers, I stumbled upon a set of stainless original mufflers from an MV Agusta. They looked just right and after photo shopping the picture I immediately bought them. They would definitely add to the scrambler vibe of the bike. The idea of hydro forming new mufflers will have to wait for the next project. DIN 11851 is the standard for industrial dairy tubing; it's available in thin wall and polished AISI316 stainless steel. This is stuff I know from work, as I design industrial things for a living. 3 meters of 40x1,5mm tube, 10 elbows and 2 eccentric reducers arrived soon as well as the MV dampers. Let the fun begin! A few days later the new sub frame, and exhaust system were tack welded in place and again it was time for a walk around and pause to see if it really was good enough. Yes, this was totally the business! Time to weld it all together. With that all done, we were all very eager to hear the new tone. Temporary arrangements were made and soon the little twin came back to life. A dark, mildly damped roar was heard that night and a few happy faces smiled.
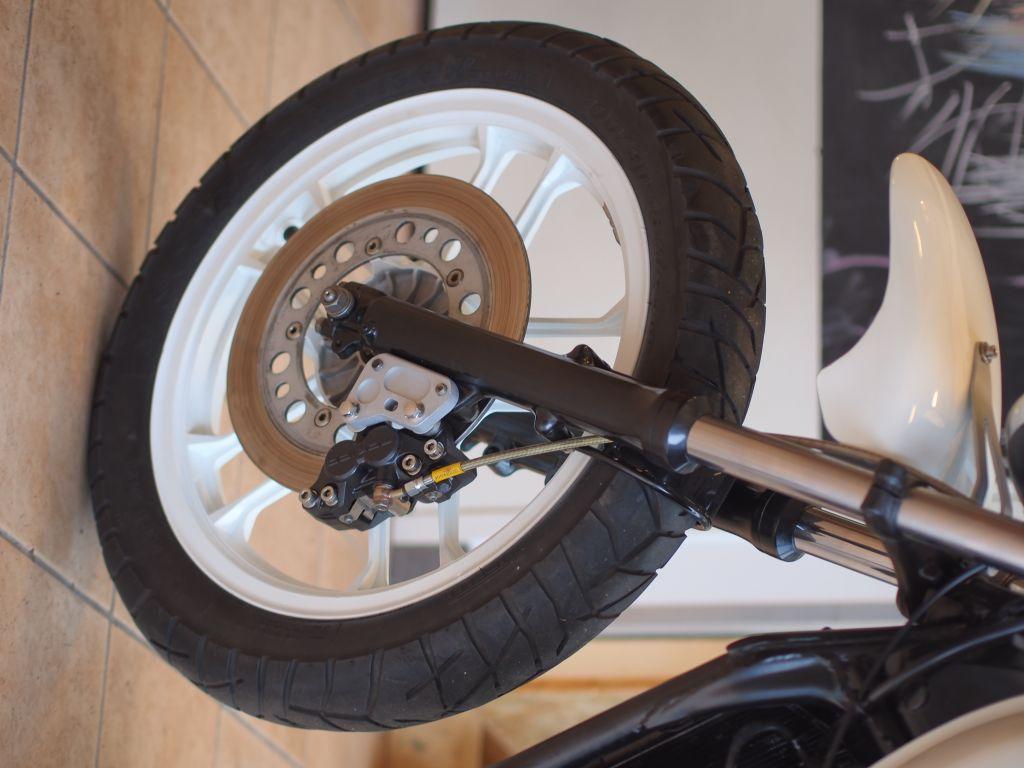
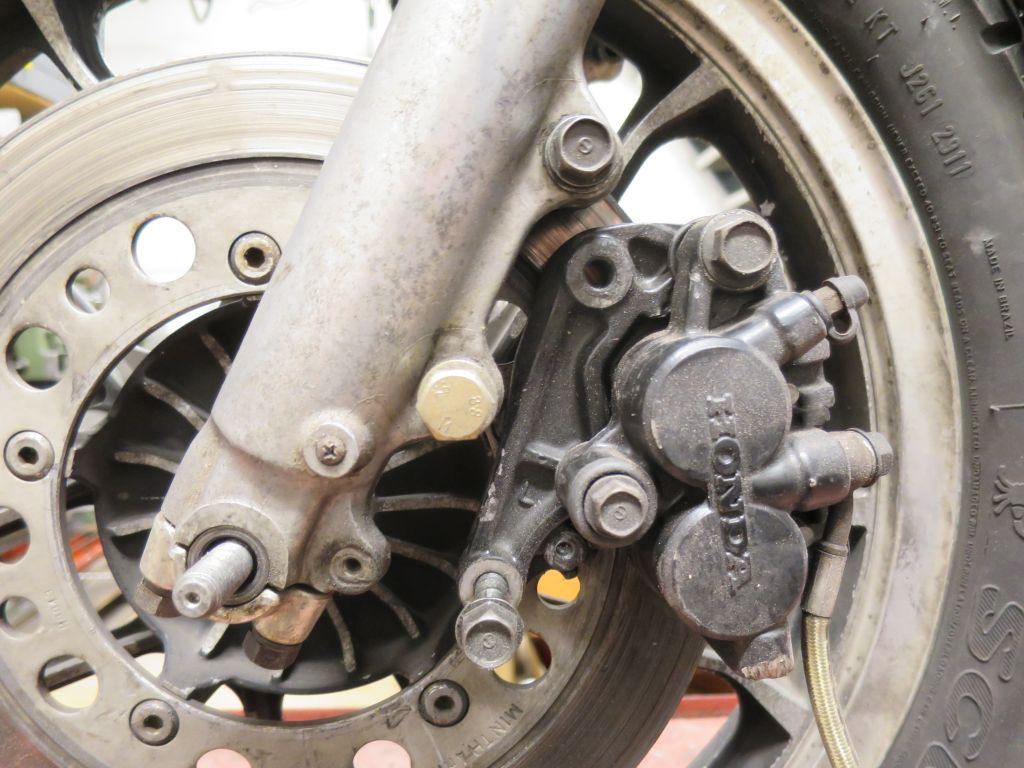
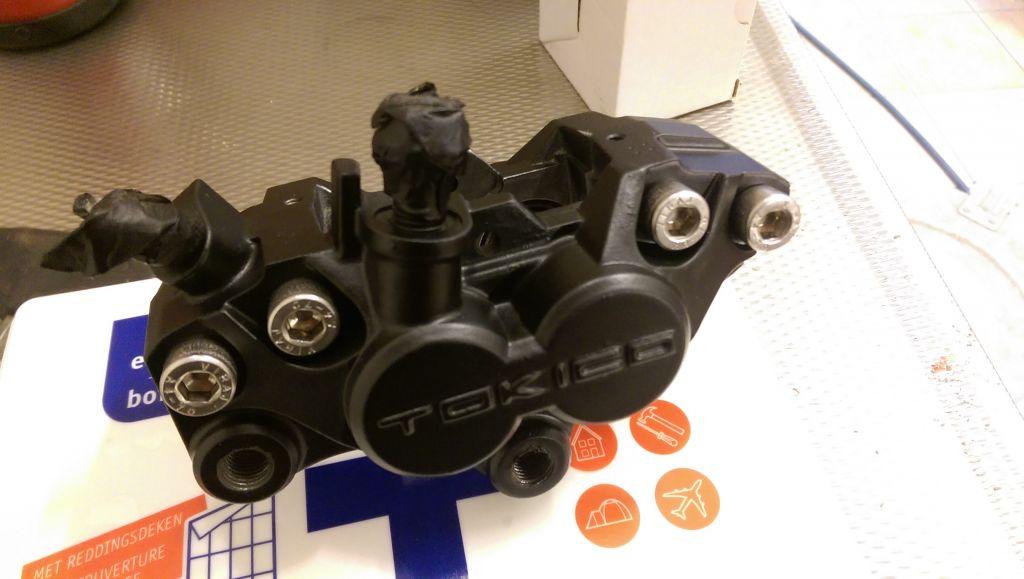
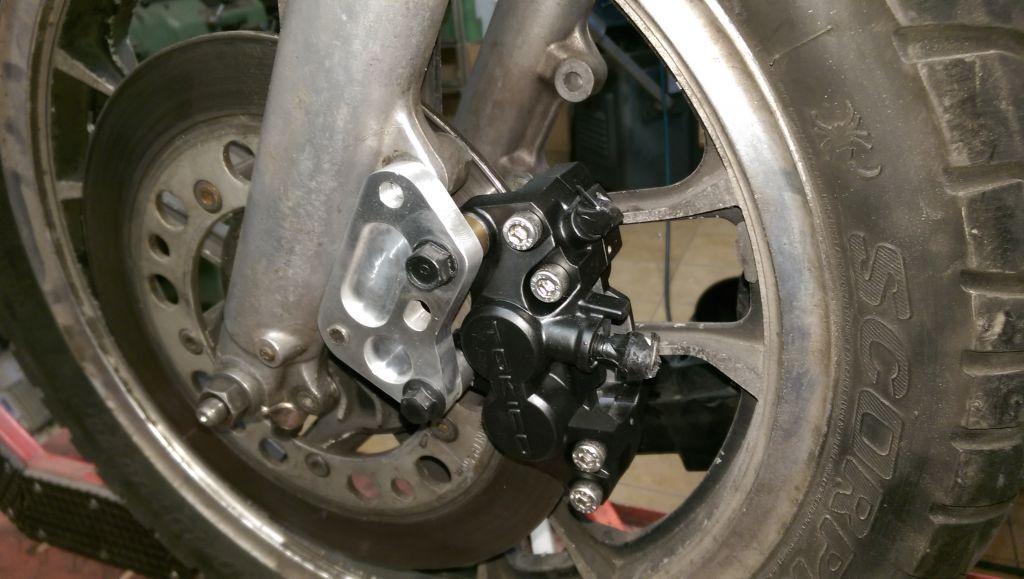
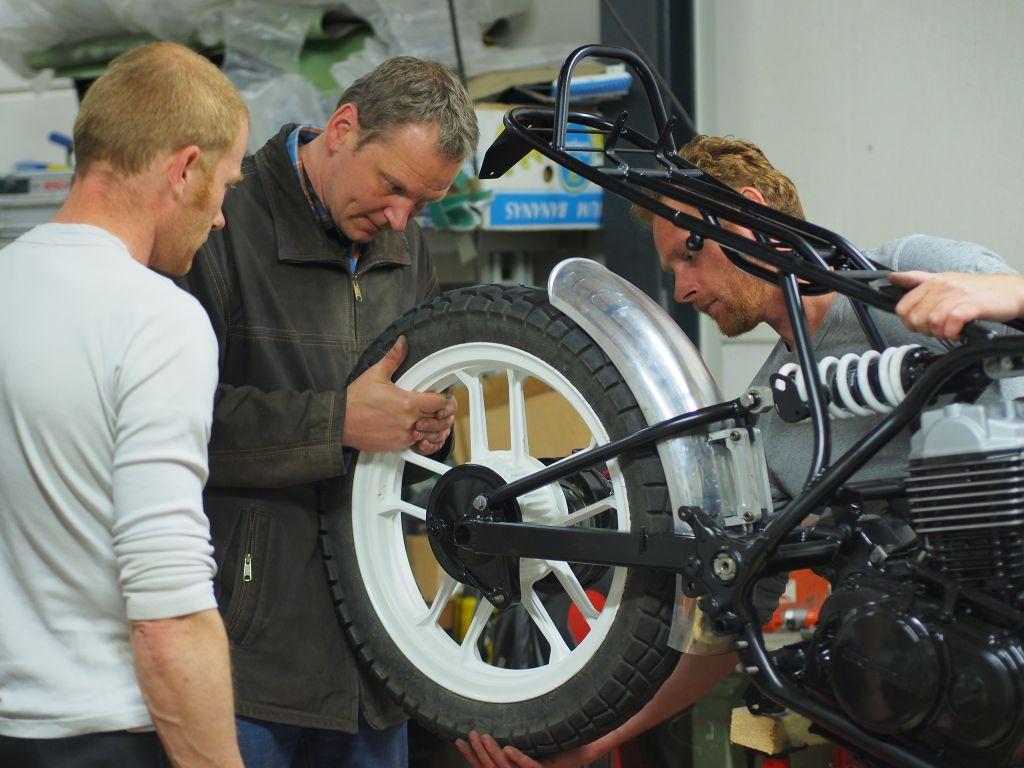
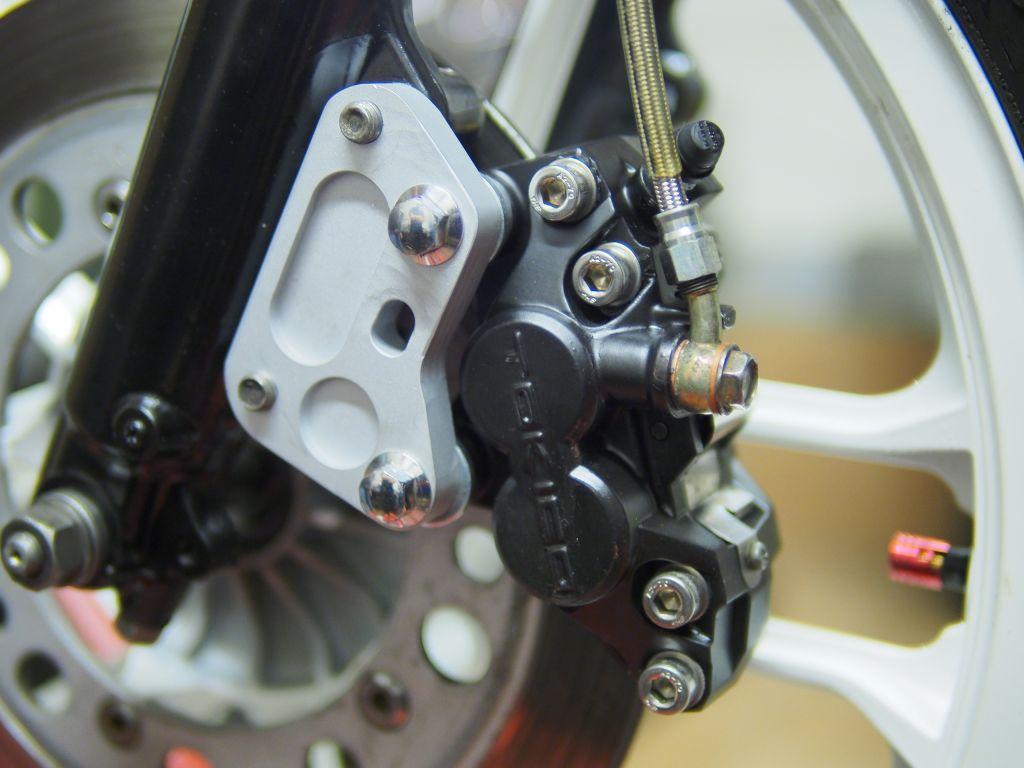
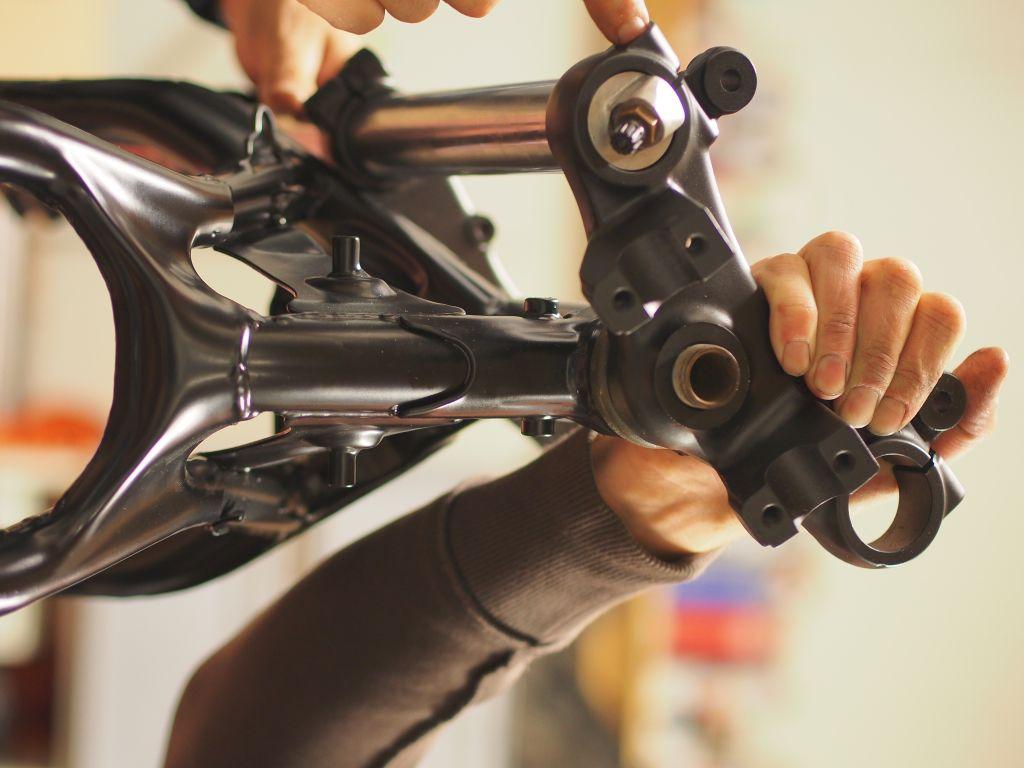
Meanwhile I was struggling with the front wheel. It had to fit in the new GS fork, and work with the calliper. The standard Honda calliper was worn out and a misfit to the forks mounting points. Then Mike showed up with a pair of 4pot ZXR units. The left hand side unit made a much better fit and was in better shape too. It was cleaned, cleaned again and cleaned again before it received a few thin layers of paint and met with a newly fabricated aluminium adaptor to fit the GS1000 fork. So far it all went like a breeze. However, like pretty much all projects, this one needed to have some difficulties and at this point they reared their head.
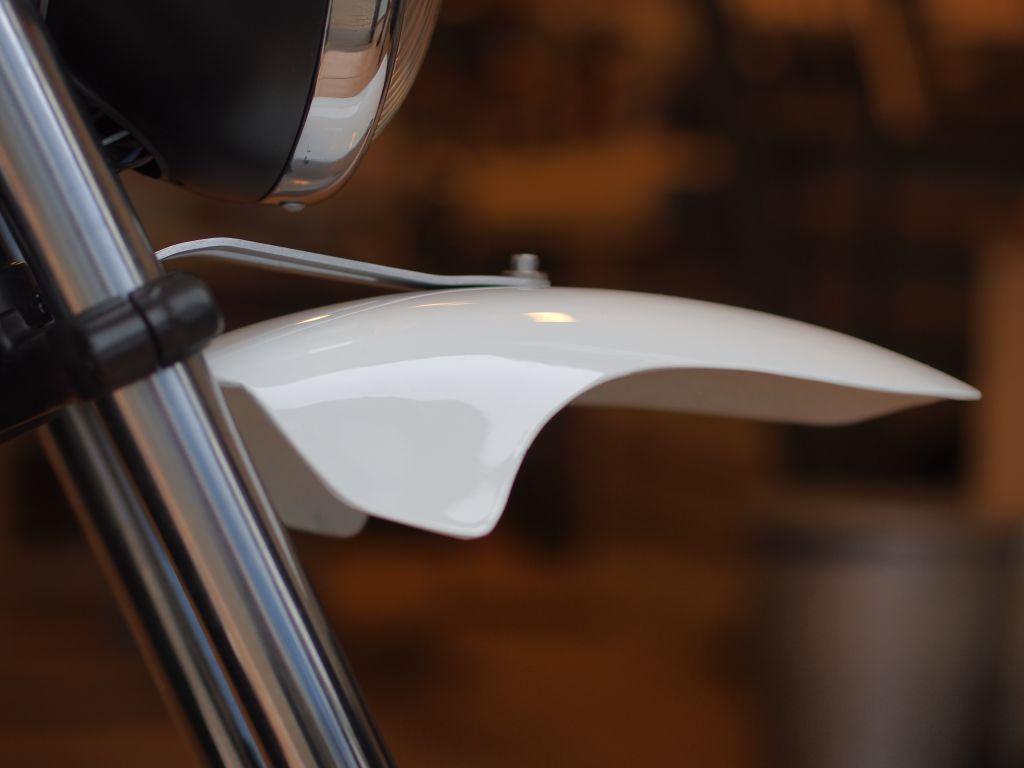
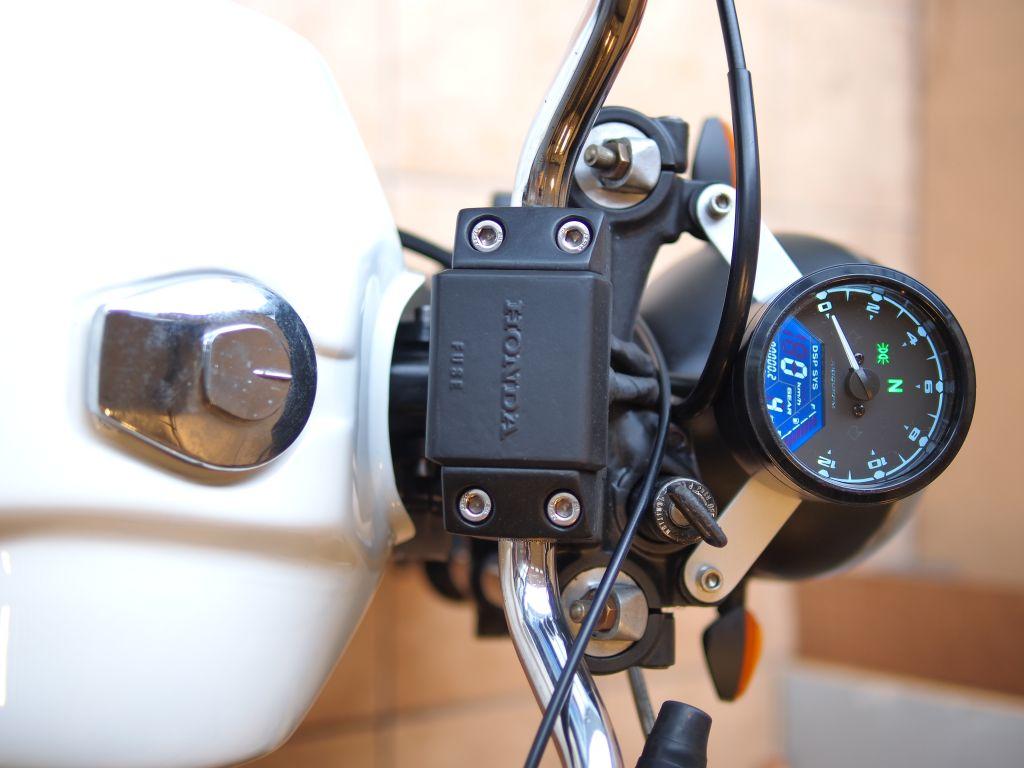
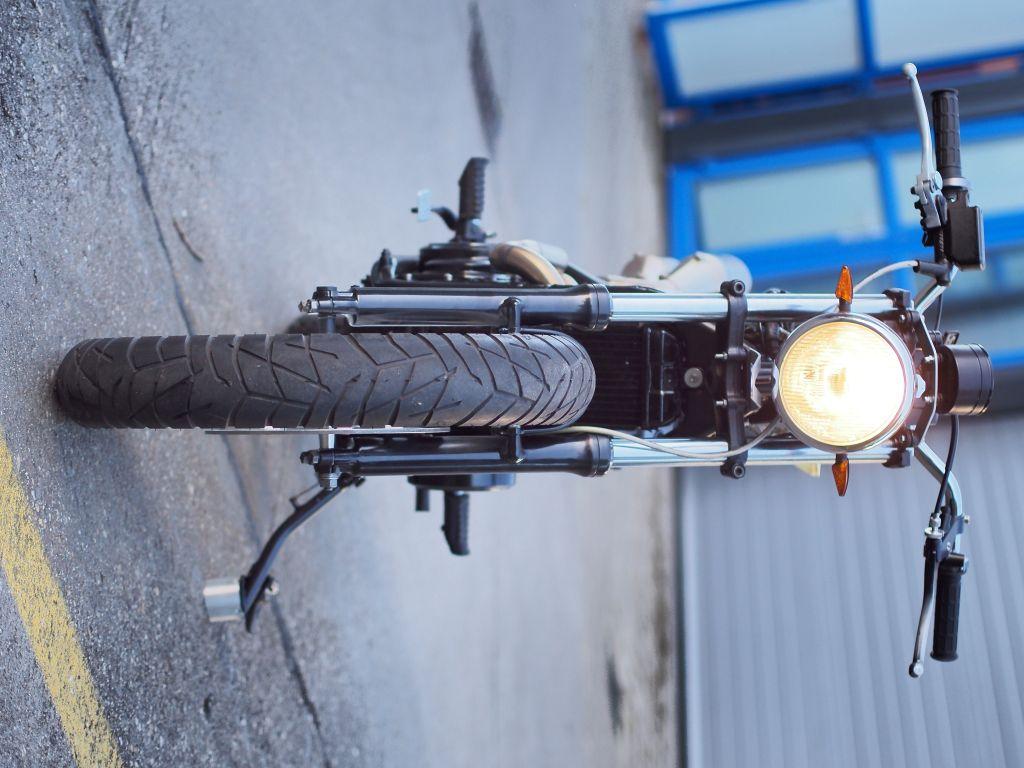
Lack of inspiration from the builder was the cause, lots of pictures of not so attractive headlight arrangements the result. Feedback from fellow bike lovers made clear that most of the tried set-ups were just plain ugly, so I had to take a step back. What stayed were the high mounted mudguard and the original square Honda headlight as being the least repellent from all options. Still in doubt I left it like this for a while and moved on with other things. At least, now we could work out the current conducting copper and wire in the new speedo-rev-idiotlight unit that was shipped in from China. It was a lot of fun to decipher the English-Chinese manual with hints like "shallow green powder" for a colour reference. One evening of positive determination resulted in an all sorted situation: 20 wires with 20 functions dis-intertwined. One evening of trying different headlights yet again resulted in the simplest and prettiest of all setups: a plain round unit without much else. Time for an engine test! It's a Honda, so starting is never an issue, but the alternative air filters and exhaust piping made a rejet session necessary. Fortunately we live in the information era and I could make an educated guess and inserted #130 size main jets and #40 pilot jets. And now, ladies and gents, it is the moment you've all been waiting for: gentlemen start your engines! Oh wow: It started cold without choke! and it runs as crisp as it sounds! What a grunt for a 500 twin, far better than expected.
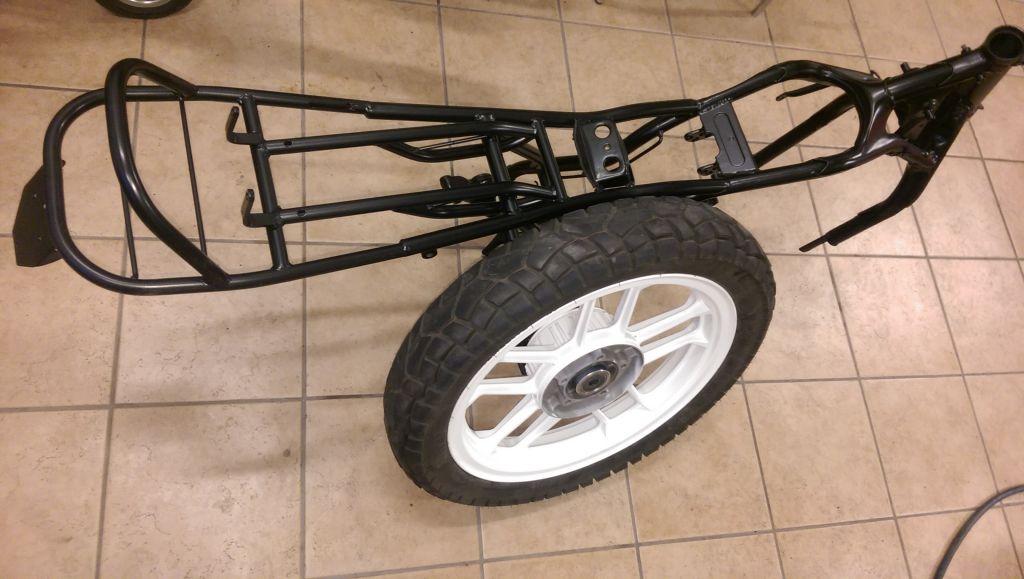
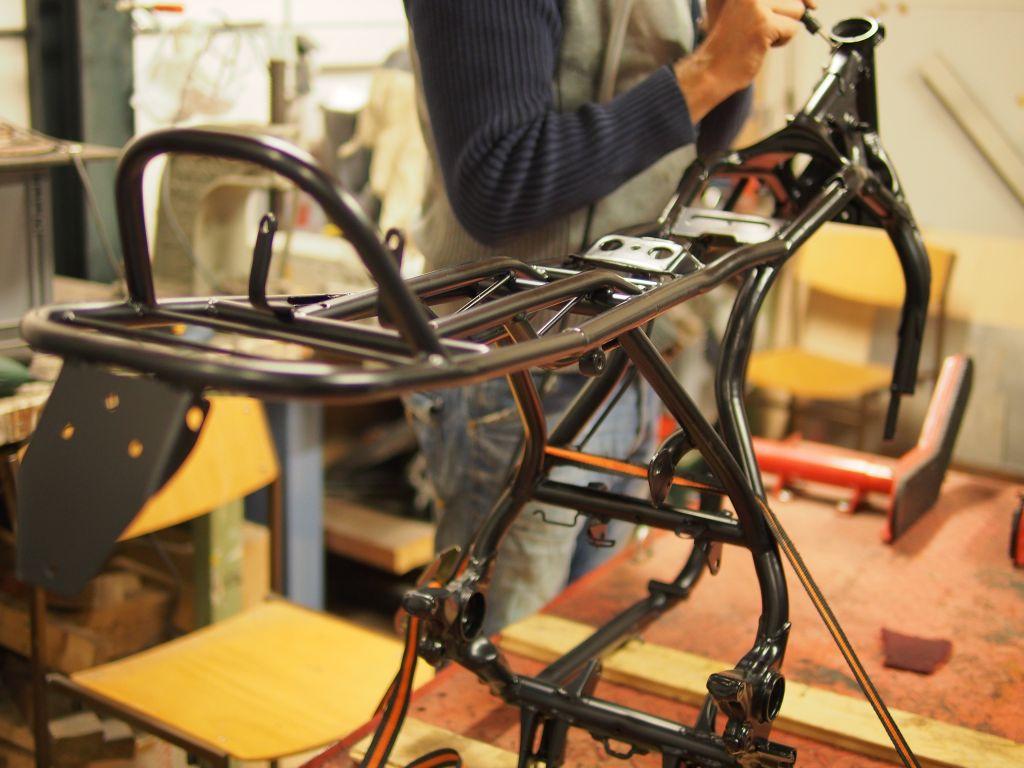
The bike was really taking shape now. Most of the choices were made and most of the special parts were finished and approved. Hence, the end of the creative part had arrived. That's a point where one easily picks up the next project to totally forget about this one. Having made that mistake one time too many in my life, I gathered up my courage and pressed on. A short test ride around the block helped a lot to keep the faith in a happy ending. It became apparent that a fork brace was essential and that same evening this new brace was constructed after a new small radius core was made for the tube bender. The test ride also made clear that the altered geometry changed the handling for the better: the bike is much more agile. Yes, everything was as it should be and the whole bike was dismantled for a blast and powder coat treatment for the rims and frame.
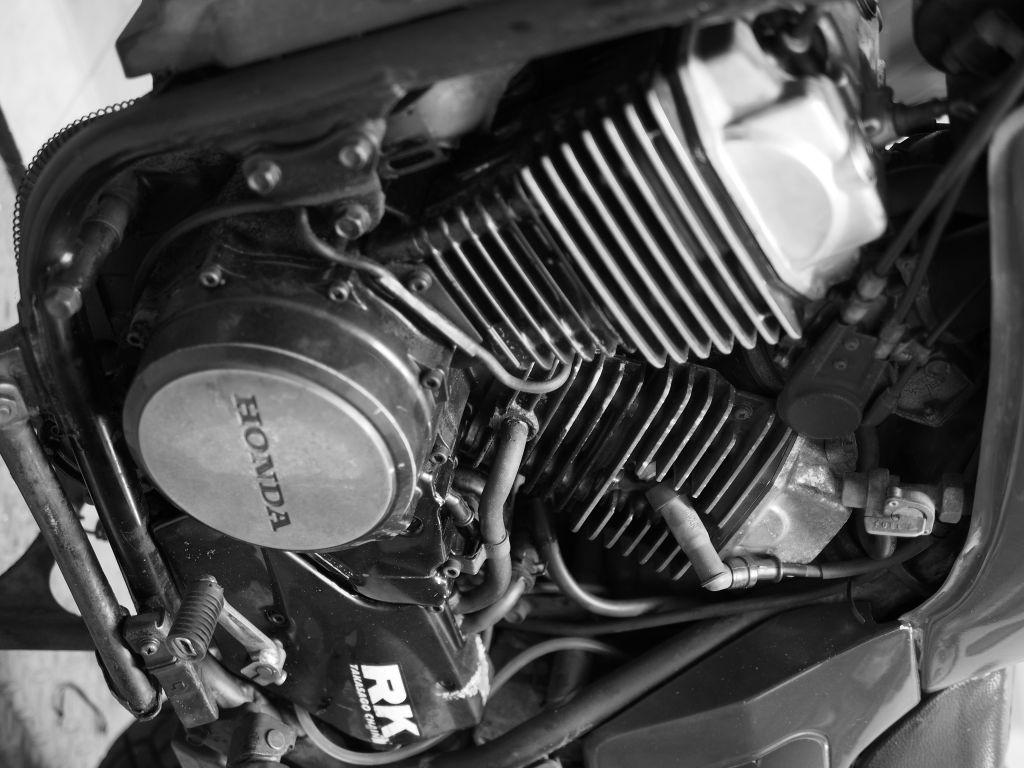
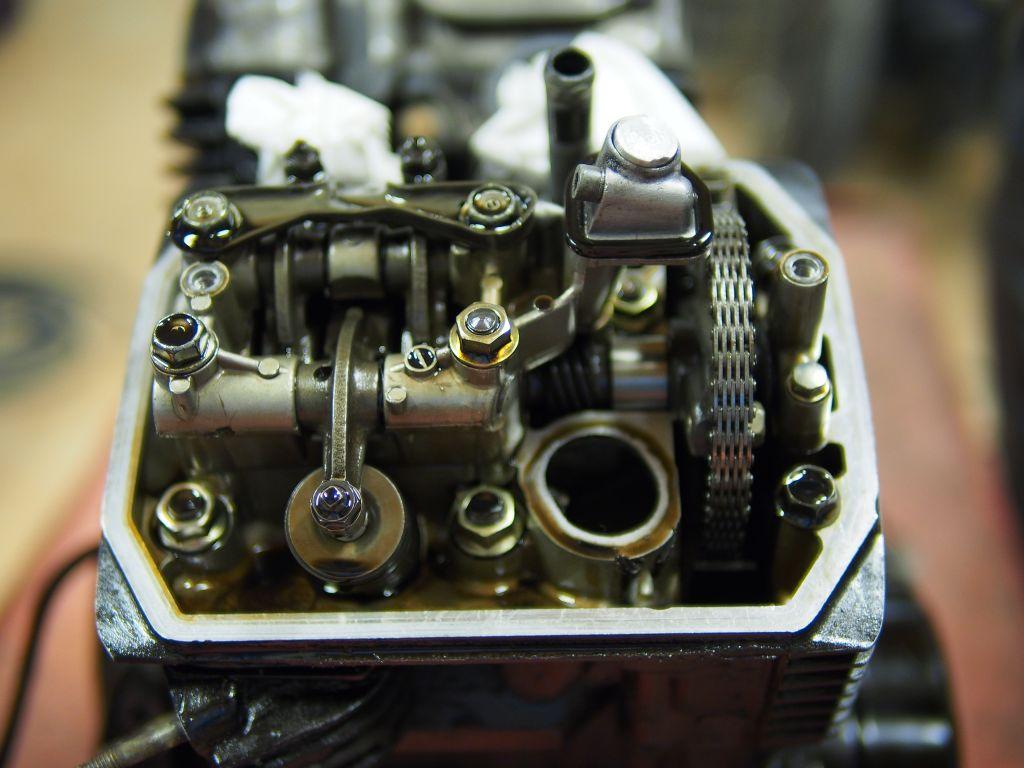
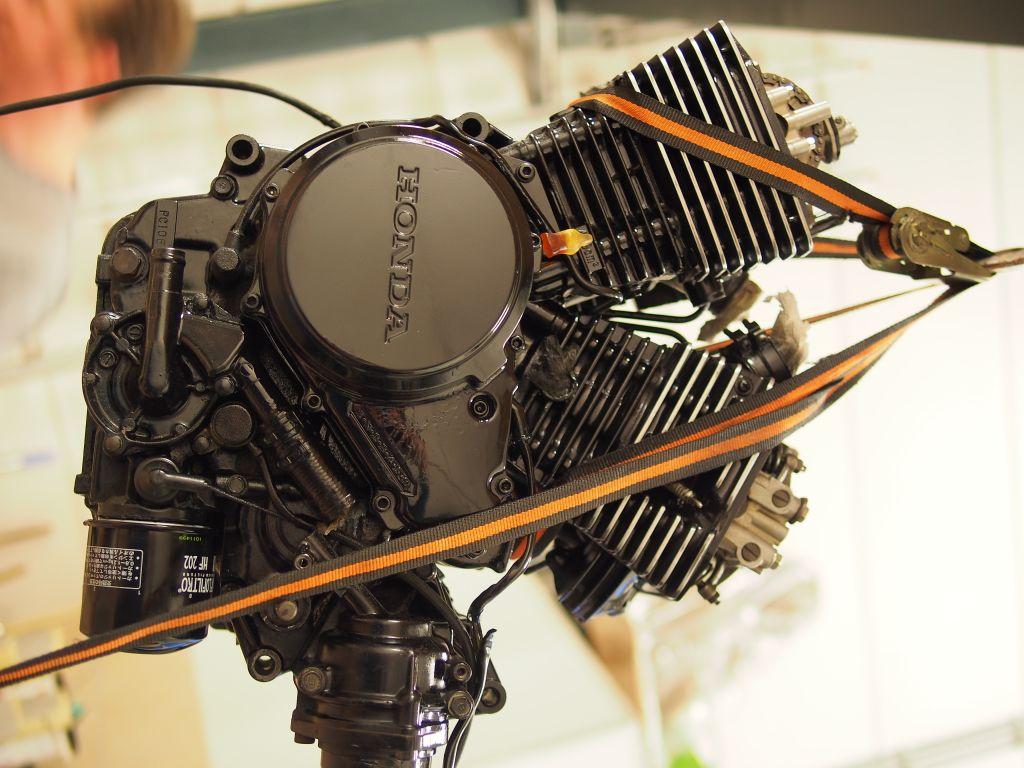
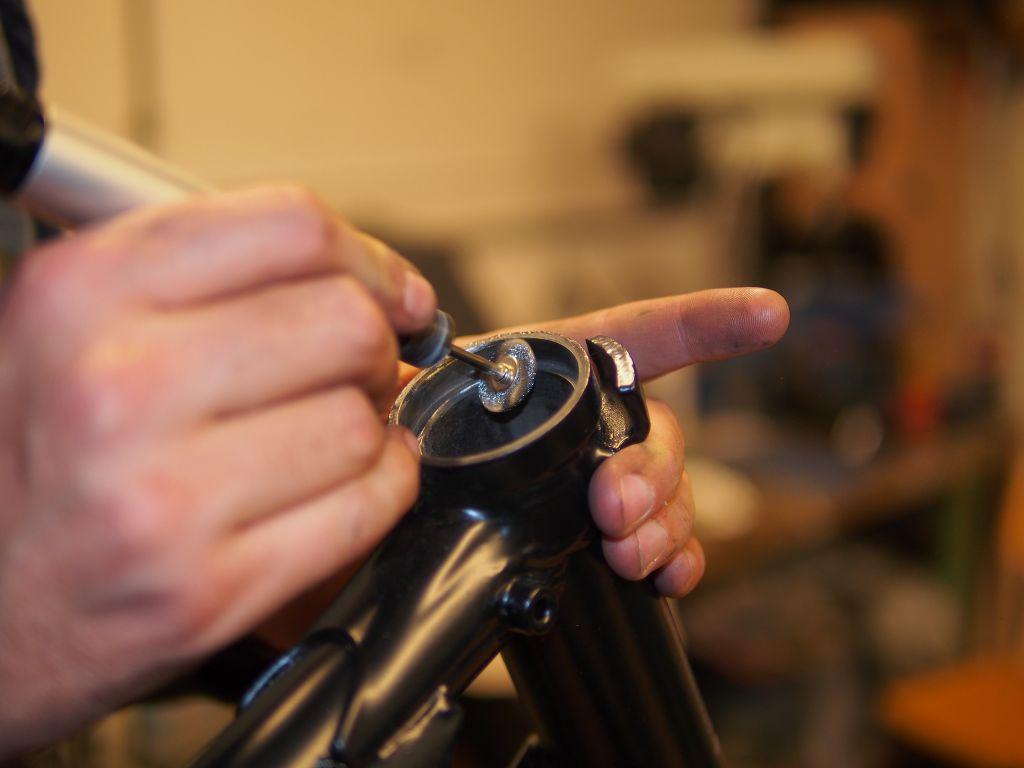
I received an email from my good friend Yuri. We contemplate alternative engine designs all the time and have very interesting discussions most of the times we meet. The content of the email was limited to this: Why don't we twingle the Ascot? I had to tell him that I had no good answer to that question. That's how it came to be that on a Wednesday night after taking the engine from the frame the twingling of the Royal Ascot took place in less that one hour. To twingle a twin engine, means that the timing of one of the cylinders is shifted a full revolution. As a result both cylinders will fire simultaneously instead of sequentially and suddenly your twin sounds and acts like a big single. Why? because we can! It doesn't bring any gain in performance but what is does bring is a fabulous sound from the stainless MV mufflers. This mod was popular with flat-track Harley's to make it easier to drift and rear wheel steer through the corners, so it has historical precedents. In the case of this little Honda it was remarkably easy to achieve. We removed the two bolts that fix the timing chain wheel to the camshaft of the front cylinder and put them back in after rotating the crankshaft a full revolution. Soon after that all necessary arrangements were made to get it running and it fired up with little hesitation.
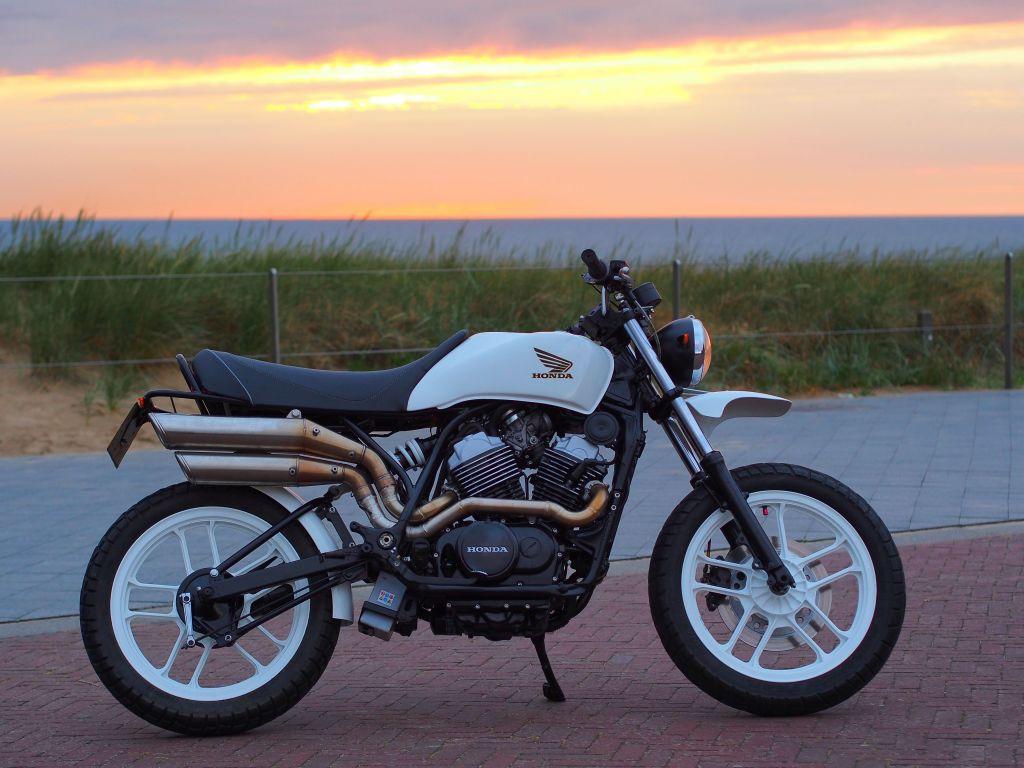
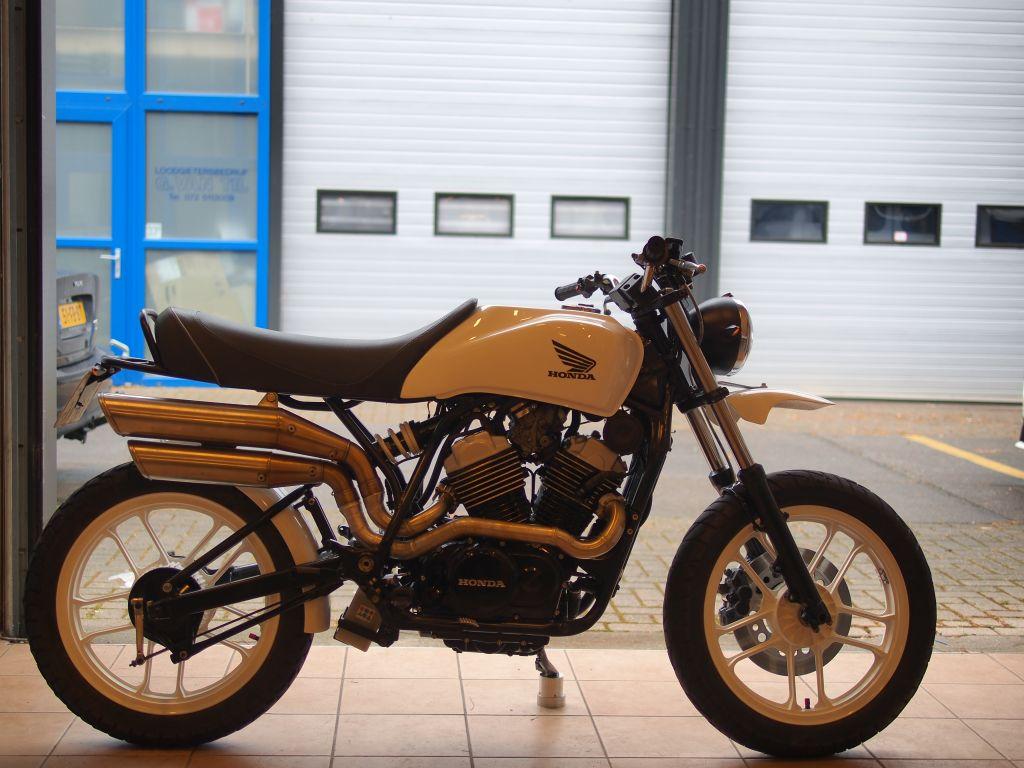
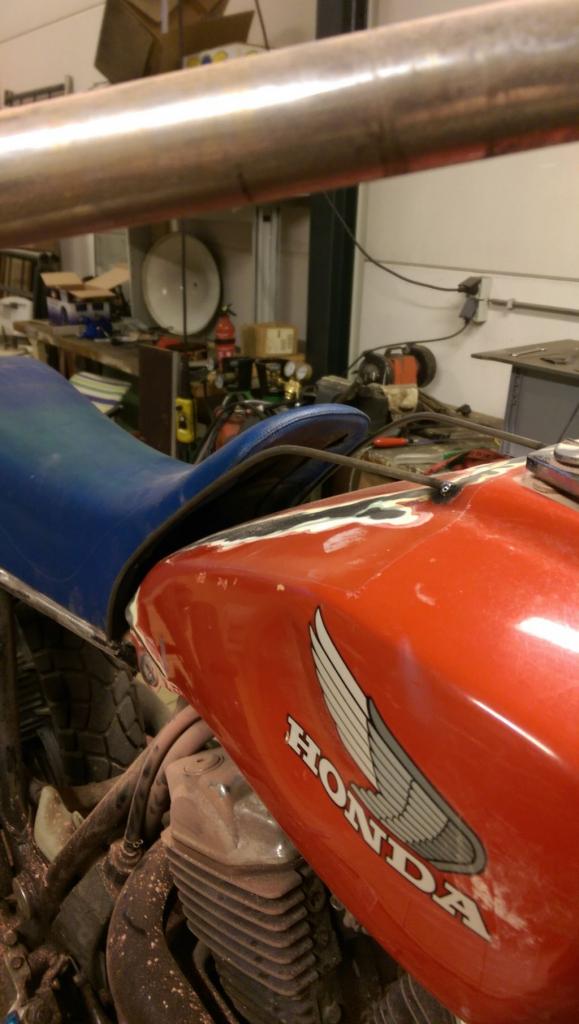
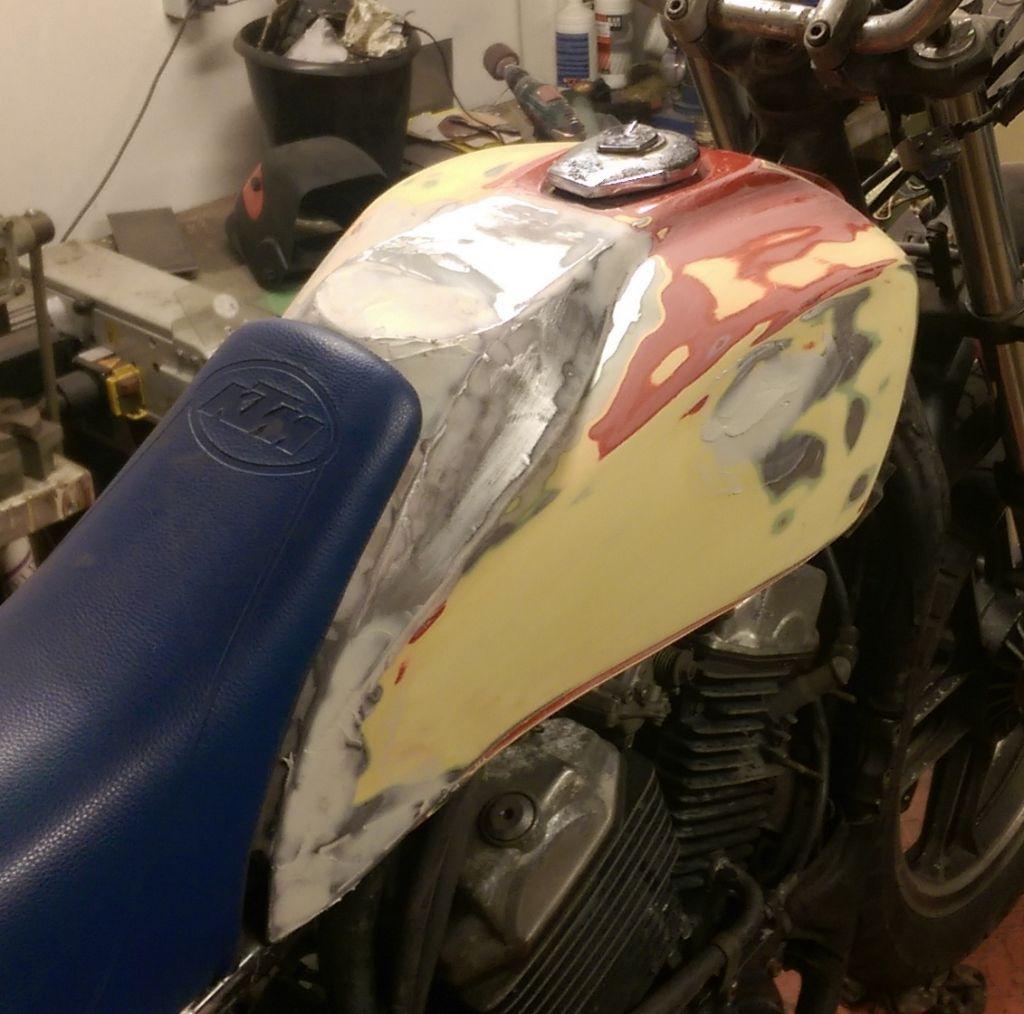
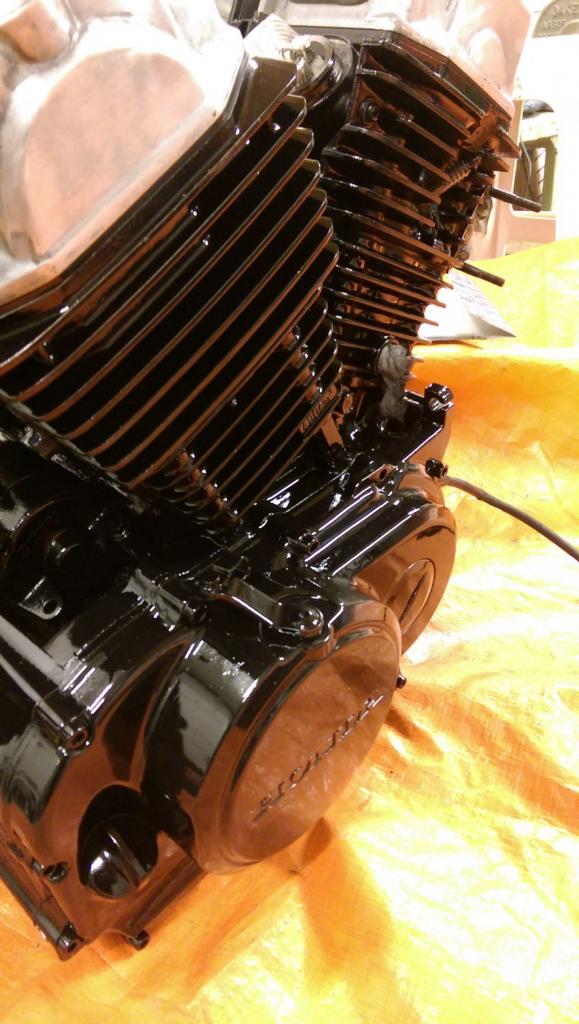
The last stage of the project brought just as much joy and satisfaction. While the frame was out at the coater, we took care of the engine and gave it new gaskets, seals, plugs, filters and finally a nice new dress of shiny black Motip engine paint. When we got the frame and wheels back all bearings of the chassis were replaced greased and adjusted and then there was the magic moment of the reunion of motor and bike. Black and white was the colour scheme of choice, and during the build silver-grey metallic was added to it. With the complete bike built up it was the moment of truth for deciding which part to get which colour. We just quickly sprayed some paint on the tank and other parts to get a good view and made the decision there and then.
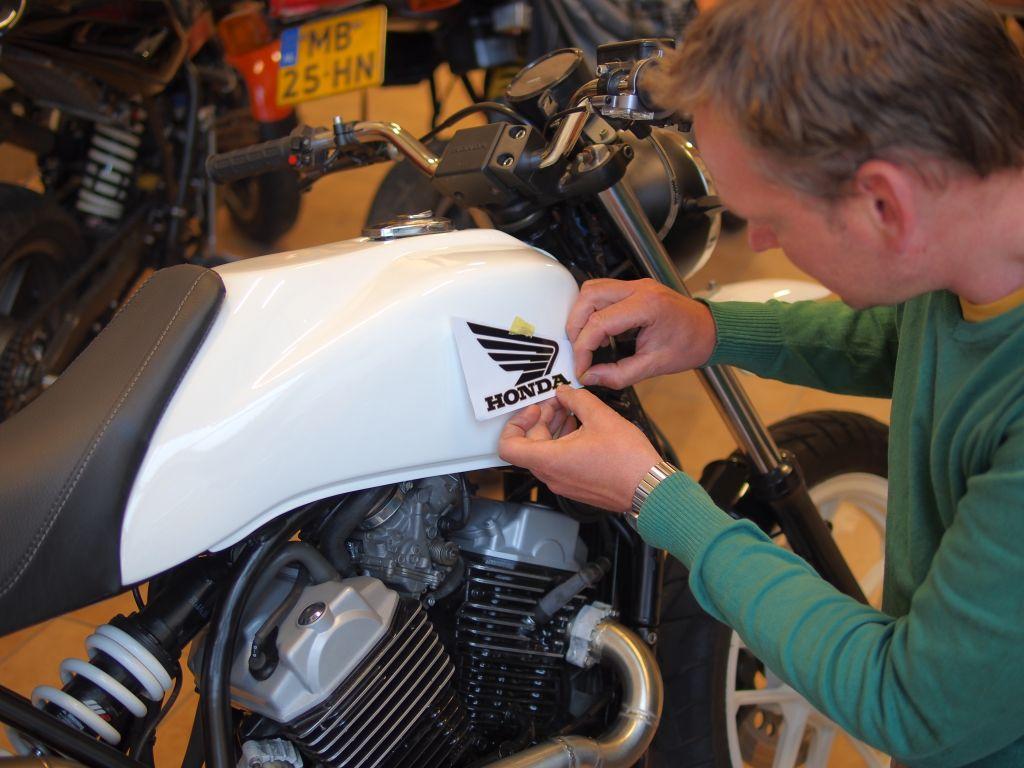
Tank and mudguards were painted by a real pro in RAL9016, the same snow white as the wheels. The result is amazingly clean. Kudo's to DEVRI in Castricum for the top job!! Simple black Honda wing logo's complement the looks of the bike. Looks are one thing, riding the bike is another. Since my design philosophy comprises that function prevails form, the test ride is more important than the first pictures of the finished bike. As pretty as she is, she rides even better! The handling has improved significantly compared to the original bike and the riding position is much better now. The slightly changed geometry pays off: she is now agile as a mountain cat and due to the twingled motor and the more open intake and exhaust, she roars like a Siberian tiger.
"Then you clean your brush, light your pipe stand back and admire the handy work."